How Automated Optical Inspection System transforming Heat Transfers Quality Control
Published on: May 26, 2025

Written by: Content team, Intelgic
How Automated Optical Inspection System transforming Heat Transfers Quality Control
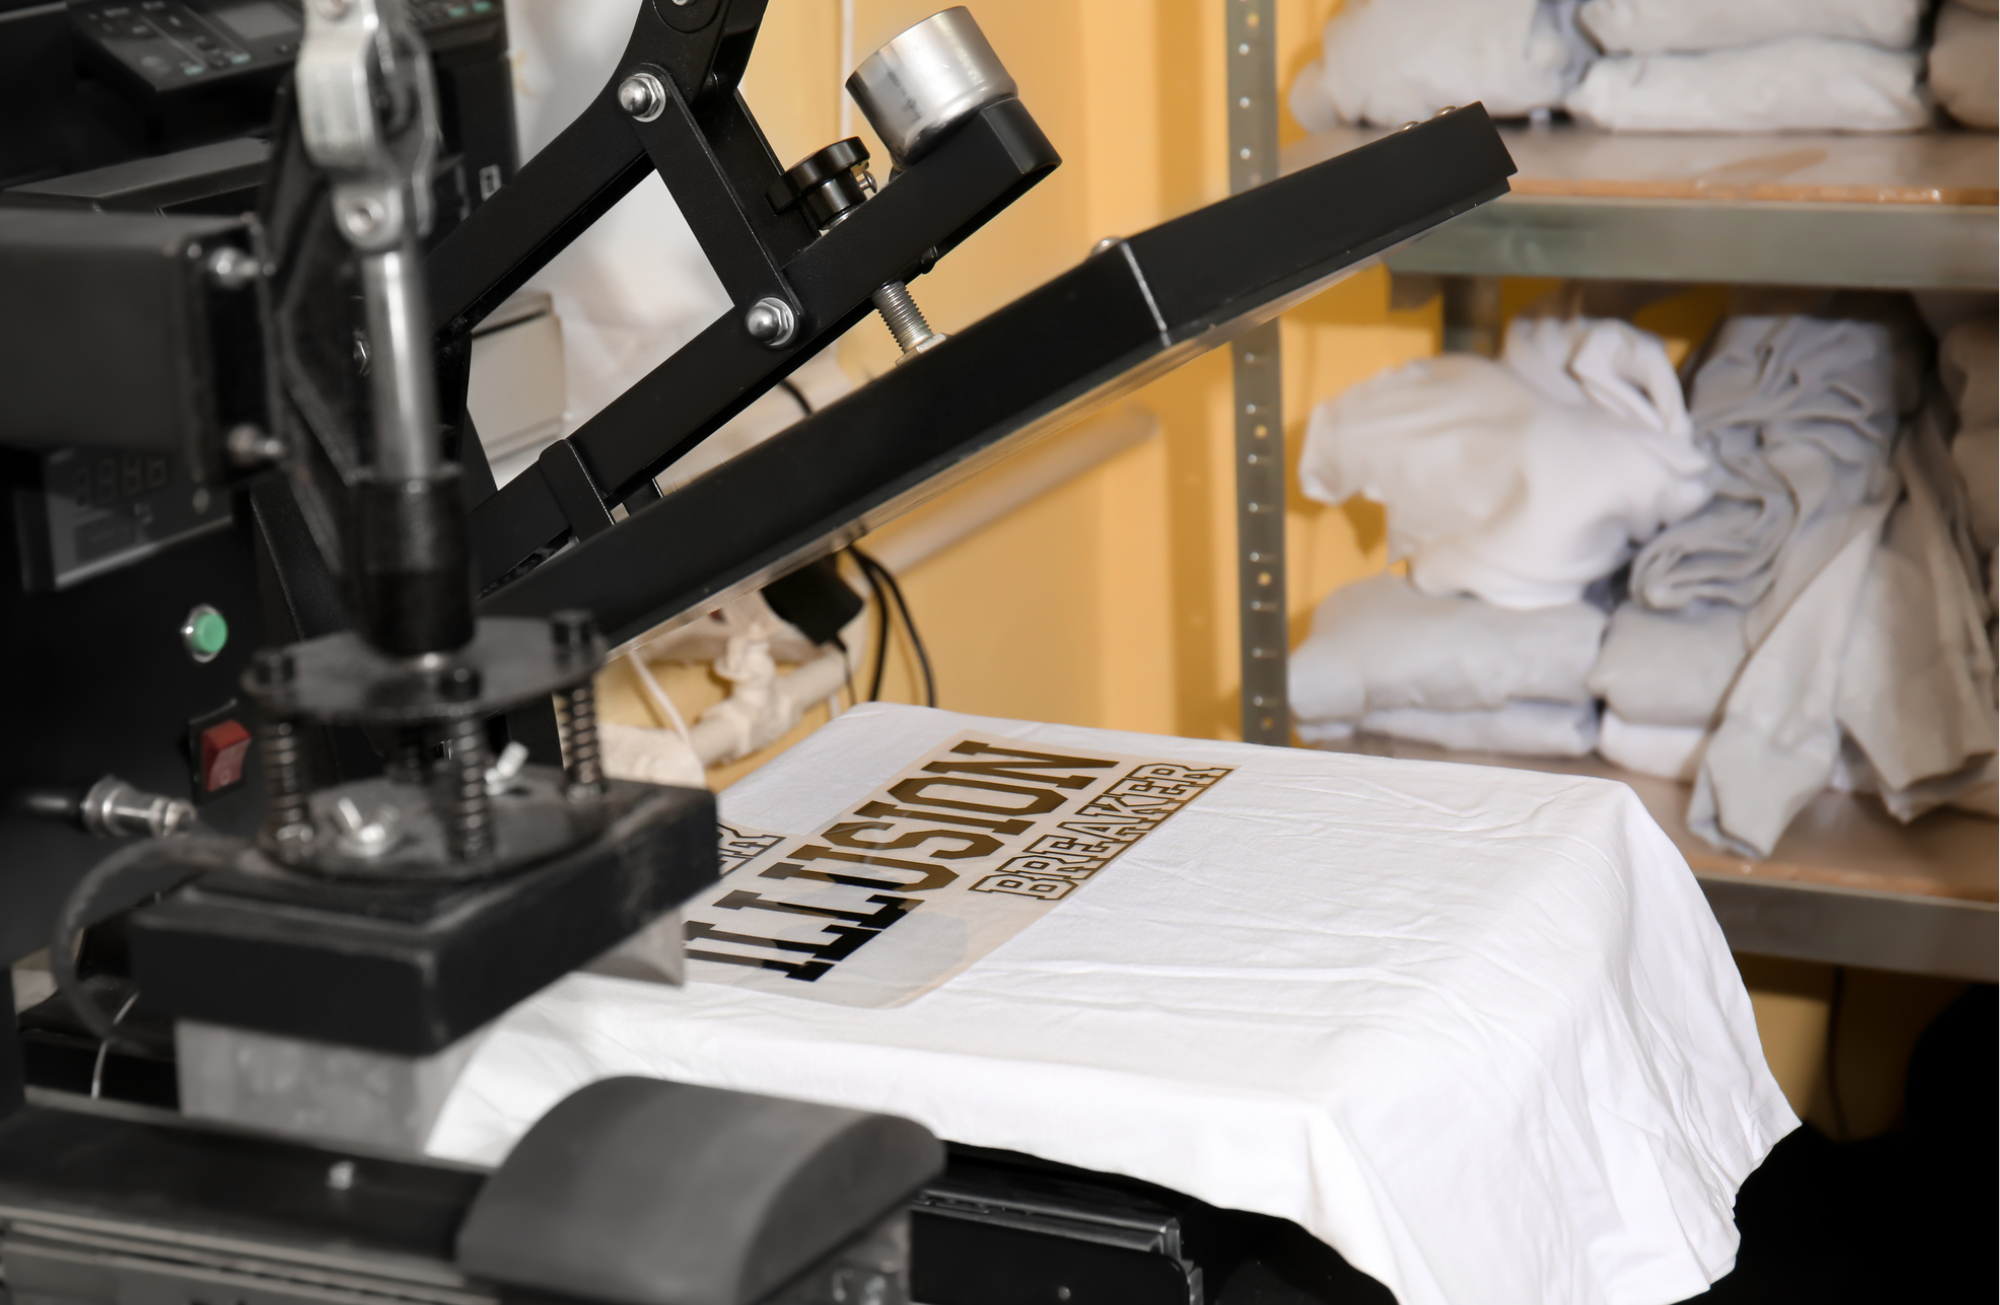
In modern textile and apparel manufacturing, heat transfers are a widely adopted method for applying high-quality graphics, logos, and designs onto fabric using heat and pressure. These transfers are typically produced through a screen printing process on translucent polyester sheets, available in sizes such as 330 x 480 mm, 350 x 500 mm, or 500 x 700 mm, with a thickness of 0.1 mm. Each sheet contains multiple repetitions of the same design, which are later cut into individual units depending on the application.
Ensuring consistent visual quality across every unit is essential in high-volume production. Even small defects—such as misprints, smudges, misalignments, or blurred edges—can lead to material waste, increased costs, and quality control issues. To address these challenges, manufacturers are increasingly turning to Automated Optical Inspection (AOI) systems. AOI technology enables real-time, high-precision inspection of each heat transfer sheet, identifying defects automatically and ensuring only flawless units proceed through the production line.

Common Defects in Heat Transfer Production
While heat transfers are produced using high-precision screen printing techniques, the process is not immune to imperfections. A range of visual and structural defects can arise during production, many of which may be difficult to detect with the naked eye but can significantly affect the final quality. Some of the most common issues include:
- Missing or Incomplete Prints
Portions of the design may fail to transfer properly, resulting in gaps or faded areas that compromise the overall appearance and legibility.
- Color Inconsistencies or Smudges
Uneven ink application or unintended ink spread can cause discoloration, blurred details, or off-tone areas within the design.
- Misalignments or Design Shifts
Slight deviations in the printing alignment can lead to off-center graphics or distorted layouts, especially noticeable in symmetrical or grid-based designs.
- Foreign Particles or Surface Blotches
Dust, debris, or printing residue can become embedded in the ink or adhesive layer, creating bumps, spots, or blemishes on the final transfer.
- Design Irregularities or Visual Distortion
Unexpected warping, stretching, or distortion in design elements can occur due to inconsistencies in printing tension or substrate handling.
- Hot Melt Defects
These occur when the adhesive material—used to bond the transfer to the fabric—is over-applied or smeared, leading to uneven adhesion and visual blemishes.
- Melt Blur
This defect arises when melted ink or adhesive spreads beyond the intended boundaries of the design, causing soft or undefined edges.
Even the smallest imperfection—as tiny as 1 mm—can render a unit unacceptable, particularly in high-end applications where precision and brand integrity are paramount. This makes early and accurate defect detection an essential part of the quality assurance process.
Challenges in Inspecting Heat Transfers
Manual inspection of these sheets is both labor-intensive and error-prone, especially when dealing with:
- High production volumes
- Tiny print units
- Subtle color variations
- Consistent positioning requirements
- Extremely fine defect thresholds
Human fatigue, lighting variations, and subjective interpretation often lead to missed defects or false positives, risking quality compromise or unnecessary waste.
Automated Optical Inspection System: Overcoming Inspection Challenges
To meet the high visual and quality demands of heat transfer production, an advanced AI-powered Automated Optical Inspection (AOI) system offers a robust solution for detecting and managing defects. Built to handle the intricate details of heat transfer sheets, the system provides fast, precise, and repeatable inspection across all production cycles—ensuring consistent quality at scale.
High-Resolution Imaging Enhanced by Advanced Illumination
At the core of the inspection system lies a sophisticated imaging setup designed to capture every detail of the heat transfer sheet with exceptional clarity. Industrial-grade machine vision cameras paired with precision-engineered lenses ensure ultra-sharp image resolution, capable of revealing the finest design elements and surface irregularities.
This imaging capability is further elevated by advanced illumination strategies housed within a meticulously engineered light-controlled enclosure. Inside this dark chamber, a carefully balanced combination of diffuse lighting (to eliminate shadows), directional lighting (to expose raised or recessed features), and backlighting (to reveal transparency issues and edge clarity) work in unison. Together, they create optimal contrast between the substrate and printed design—regardless of ink type, color density, or material reflectivity.
Whether inspecting glossy finishes, matte textures, or complex multicolor prints, the system delivers consistent, high-quality images. Even the most subtle or low-contrast defects—such as smudges, slight misalignments, or microscopic adhesive residue—are captured with precision, enabling the software to perform highly accurate defect detection across all production variations.

AI Software for Defect Detection and Real-Time Monitoring
Captured images are processed by advanced AI algorithms that thoroughly inspect for a wide range of defects, including hot melt defects, melt blur, color inconsistencies, missing elements, misalignments, and surface contamination. The system ensures accurate identification of even the most subtle imperfections, maintaining the highest quality standards.
For each detected defect, the system calculates precise X-Y coordinates and immediately communicates this information to an automated marking system that physically marks the defect locations on the sheet. Simultaneously, a live operator interface displays high-resolution images with real-time defect annotations, providing operators with comprehensive visibility and enabling timely review and validation of inspection results.
All inspection data is securely logged, supporting traceability, performance analysis, and continuous quality enhancement.
Step-by-Step Workflow: Automated Inspection Process
- Sheet Loading & Transport
Each heat transfer sheet is carefully loaded onto a conveyor system equipped with precision linear guides. This setup ensures smooth, consistent movement and accurate positioning throughout the inspection process, minimizing the risk of sheet misalignment or handling errors. - Positioning & Imaging
As the sheet reaches the inspection station, the conveyor pauses within a specially designed darkened enclosure. This controlled environment, combined with advanced lighting techniques, creates optimal conditions for revealing even the most subtle defects on the sheet’s surface. Multiple lighting angles and intensities are utilized to highlight surface textures, ink density, and adhesive quality. - Defect Detection & Analysis
High-resolution images captured within the enclosure are immediately transmitted to an AI-driven analysis engine. The proprietary software thoroughly examines these images, detecting a wide variety of visual anomalies such as misprints, color inconsistencies, and surface contaminations with exceptional accuracy. - Defect Localization & Marking
Once defects are identified, the system calculates their exact coordinates on the sheet. This data is sent to an integrated marking mechanism that physically annotates the defect locations, enabling clear and precise identification for downstream sorting, rework, or quality control. - Operator Interface
A dedicated monitor provides operators with real-time access to annotated inspection images. This interactive interface allows immediate review and validation of detected defects, ensuring prompt response and decision-making during production. - Data Logging
All inspection data, including images, defect locations, and analysis results, are securely stored locally. This comprehensive log supports full traceability and facilitates ongoing process improvement and quality assurance initiatives.
Advantages of Automated Optical Inspection in Heat Transfer Quality Control
- Eliminates Human Error and Fatigue:
Standardizes inspections to prevent oversight caused by manual fatigue or inconsistent attention, ensuring every sheet is thoroughly evaluated.
- Reduces Inspection Time and Operational Costs:
Accelerates the inspection process through rapid scanning and analysis, lowering labor requirements and improving overall production efficiency.
- Enhances Defect Detection Accuracy:
Utilizes advanced imaging and AI algorithms to identify even the most subtle imperfections, maintaining the highest product quality.
- Boosts Customer Satisfaction Through Consistent Quality:
Ensures uniform quality across all production batches, strengthening brand reputation and building long-term customer trust.
- Improves Traceability and Process Transparency:
Provides detailed inspection data and records, enabling robust traceability, quality audits, and continuous process improvements.
Intelgic: The Pioneer in Heat Transfer Inspection Technology
Intelgic leads the automated optical inspection industry by seamlessly integrating advanced machine vision technology with deep industry expertise. Our AOI systems are purpose-built to address the complex challenges of heat transfer production, delivering exceptional accWhat sets Intelgic apart:
- Innovative, Modular Design:
Our systems are built for seamless integration into existing production lines, ensuring minimal disruption and maximum operational continuity.
- Scalable Software and Hardware Solutions:
Engineered to evolve with your business, our flexible architecture adapts effortlessly to changing production volumes and inspection requirements.
- Customizable Inspection Parameters:
Tailored to each client’s unique quality standards, our systems provide precise control over inspection criteria.
- Real-Time Defect Marking and Operator Alerts:
Immediate defect localization combined with live operator notifications enables rapid response and reduces downtime.
- Dedicated Support and Upgrade Programs:
We offer robust technical support and continual system upgrades to keep your inspection capabilities at the forefront of innovation.
Conclusion
In summary, advanced Automated Optical Inspection systems are vital for elevating quality control in heat transfer production. By enabling precise defect detection, real-time feedback, and comprehensive data tracking, these systems help manufacturers ensure consistent product quality, reduce waste, and enhance operational efficiency. With extensive expertise in this field, Intelgic delivers tailored AOI solutions that meet the evolving needs of the apparel industry, supporting manufacturers in achieving excellence and staying competitive.
Reach out to Intelgic today to learn how our advanced inspection solutions can optimize your production quality

