Understanding Stationary inspection vs Inline Inspection in Manufacturing: A comprehensive Guide
Published on: Apr 11, 2025

Written by: Content team, Intelgic
Stationary Inspection: A Closer Look
Imagine a product brought in front of a camera system where it stays still, even for a brief moment, while a detailed analysis takes place. That’s essentially what stationary inspection is all about. It is often used when precision is paramount, and when products can be positioned in a controlled manner.
Stationary inspection systems are set up in a fixed location where objects are either manually or mechanically placed. These systems are ideal for products that do not move rapidly or for processes where objects can be stopped briefly for examination.

Key Components of Stationary Inspection Systems
To perform a thorough inspection, several key components come together:
- Area Scan Cameras: These cameras are the heart of stationary inspection. They capture full-frame, high-resolution 2D images of an object in a single snapshot. This type of camera is excellent for capturing fine details, including shapes, textures, labels, and even minute defects on a product’s surface.
- Lighting Systems: Proper lighting is essential for capturing a clean, shadow-free image. LED backlights, ring lights, or diffused lighting setups are commonly used to highlight product features clearly.
- Advanced Sensors: Optical sensors detect surface irregularities and material defects with high precision. Infrared and thermal sensors identify temperature variations that may indicate faults or material inconsistencies. Ultrasonic sensors offer non-destructive testing (NDT) capabilities, making them essential for detecting internal flaws within materials..
- Mounting Fixtures: The camera and lighting components are secured on fixed mounts or frames, ensuring consistency in image capture and alignment.
- Processing Software: Once the image is captured, it’s analyzed using software that applies machine learning algorithms or traditional rule-based logic to identify defects or verify product specifications.
Working Principle: How Stationary Inspection Operates
The process begins when an object is placed in front of the inspection station. A trigger sensor activates the camera, which captures a detailed image of the product. This image is then passed to the image processing software, which performs various analyses—such as checking for surface flaws, verifying labels, or measuring dimensions.
Once the analysis is complete, the system makes a decision: pass, reject, or flag the product for manual review.

Where Is It Used? Applications of Stationary Inspection
Stationary inspection is particularly useful in industries where products are small, detailed, or delicate:
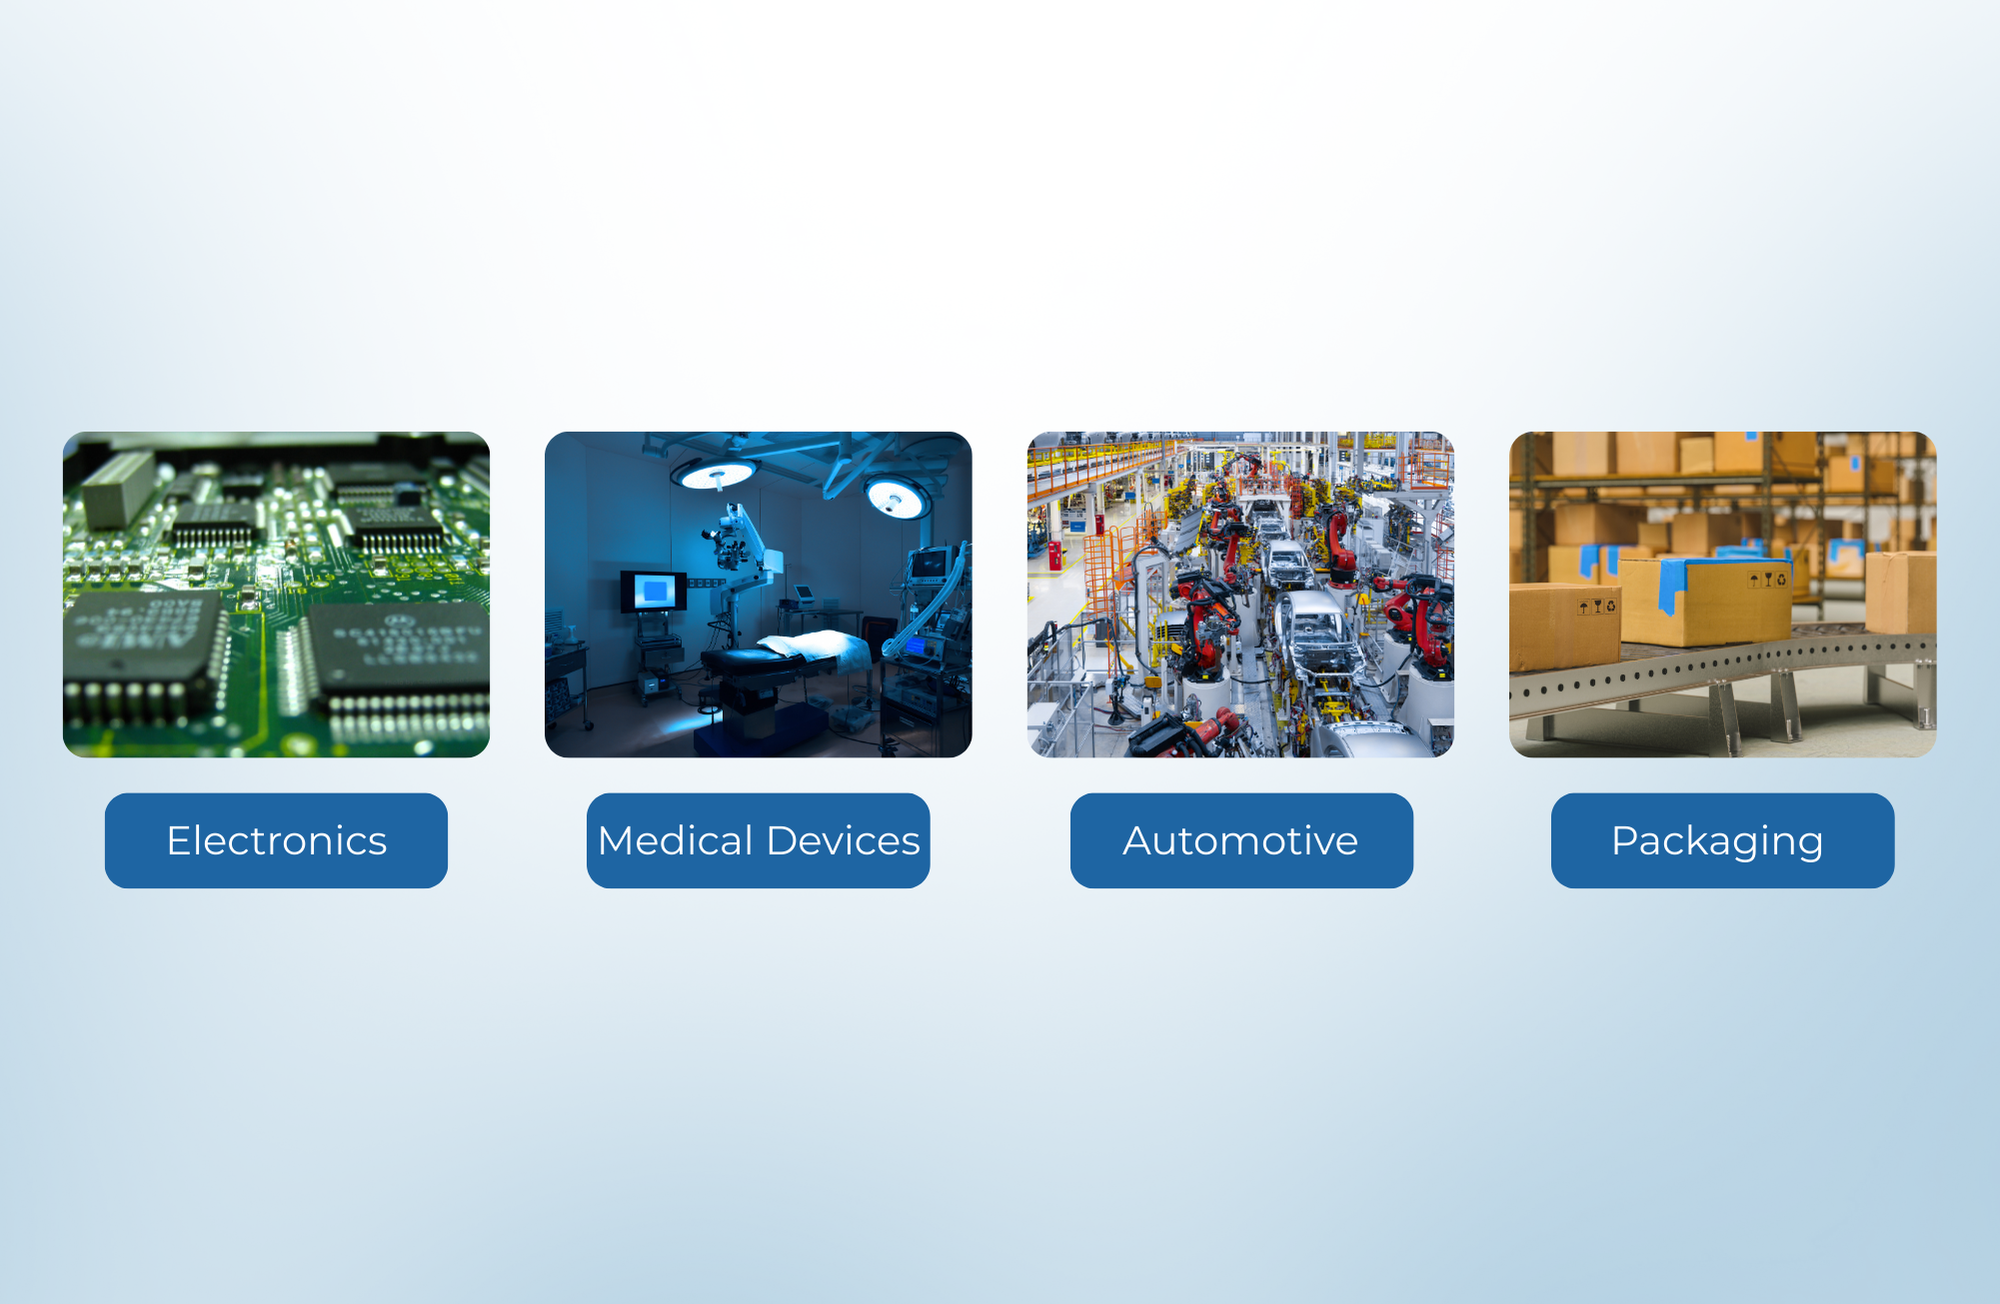
- Electronics: Verifying the placement and orientation of components on printed circuit boards (PCBs).
- Medical Devices: Inspect surgical tools, implants, and small parts for micro-defects
ensure sterility and cleanliness before packaging. - Automotive:Visual check for defects in gears, engine parts, and wiring harnesses and dimensional verification using structured light or laser setup.
- Consumer Goods: Inspecting barcode accuracy, color quality, and packaging consistency.

Inline Inspection: Dynamic, Continuous, Real-Time
Now contrast stationary inspection with a system where products move rapidly along a conveyor belt and are inspected in real time without stopping. This is inline inspection—a technique designed for speed and scalability.
Inline inspection systems are embedded directly into production lines. They capture images and process them while the product is in motion, making them ideal for high-speed, continuous manufacturing environments.
Key Components of Inline Inspection Systems
The effectiveness of inline inspection lies in its integration of smart hardware and synchronized controls:
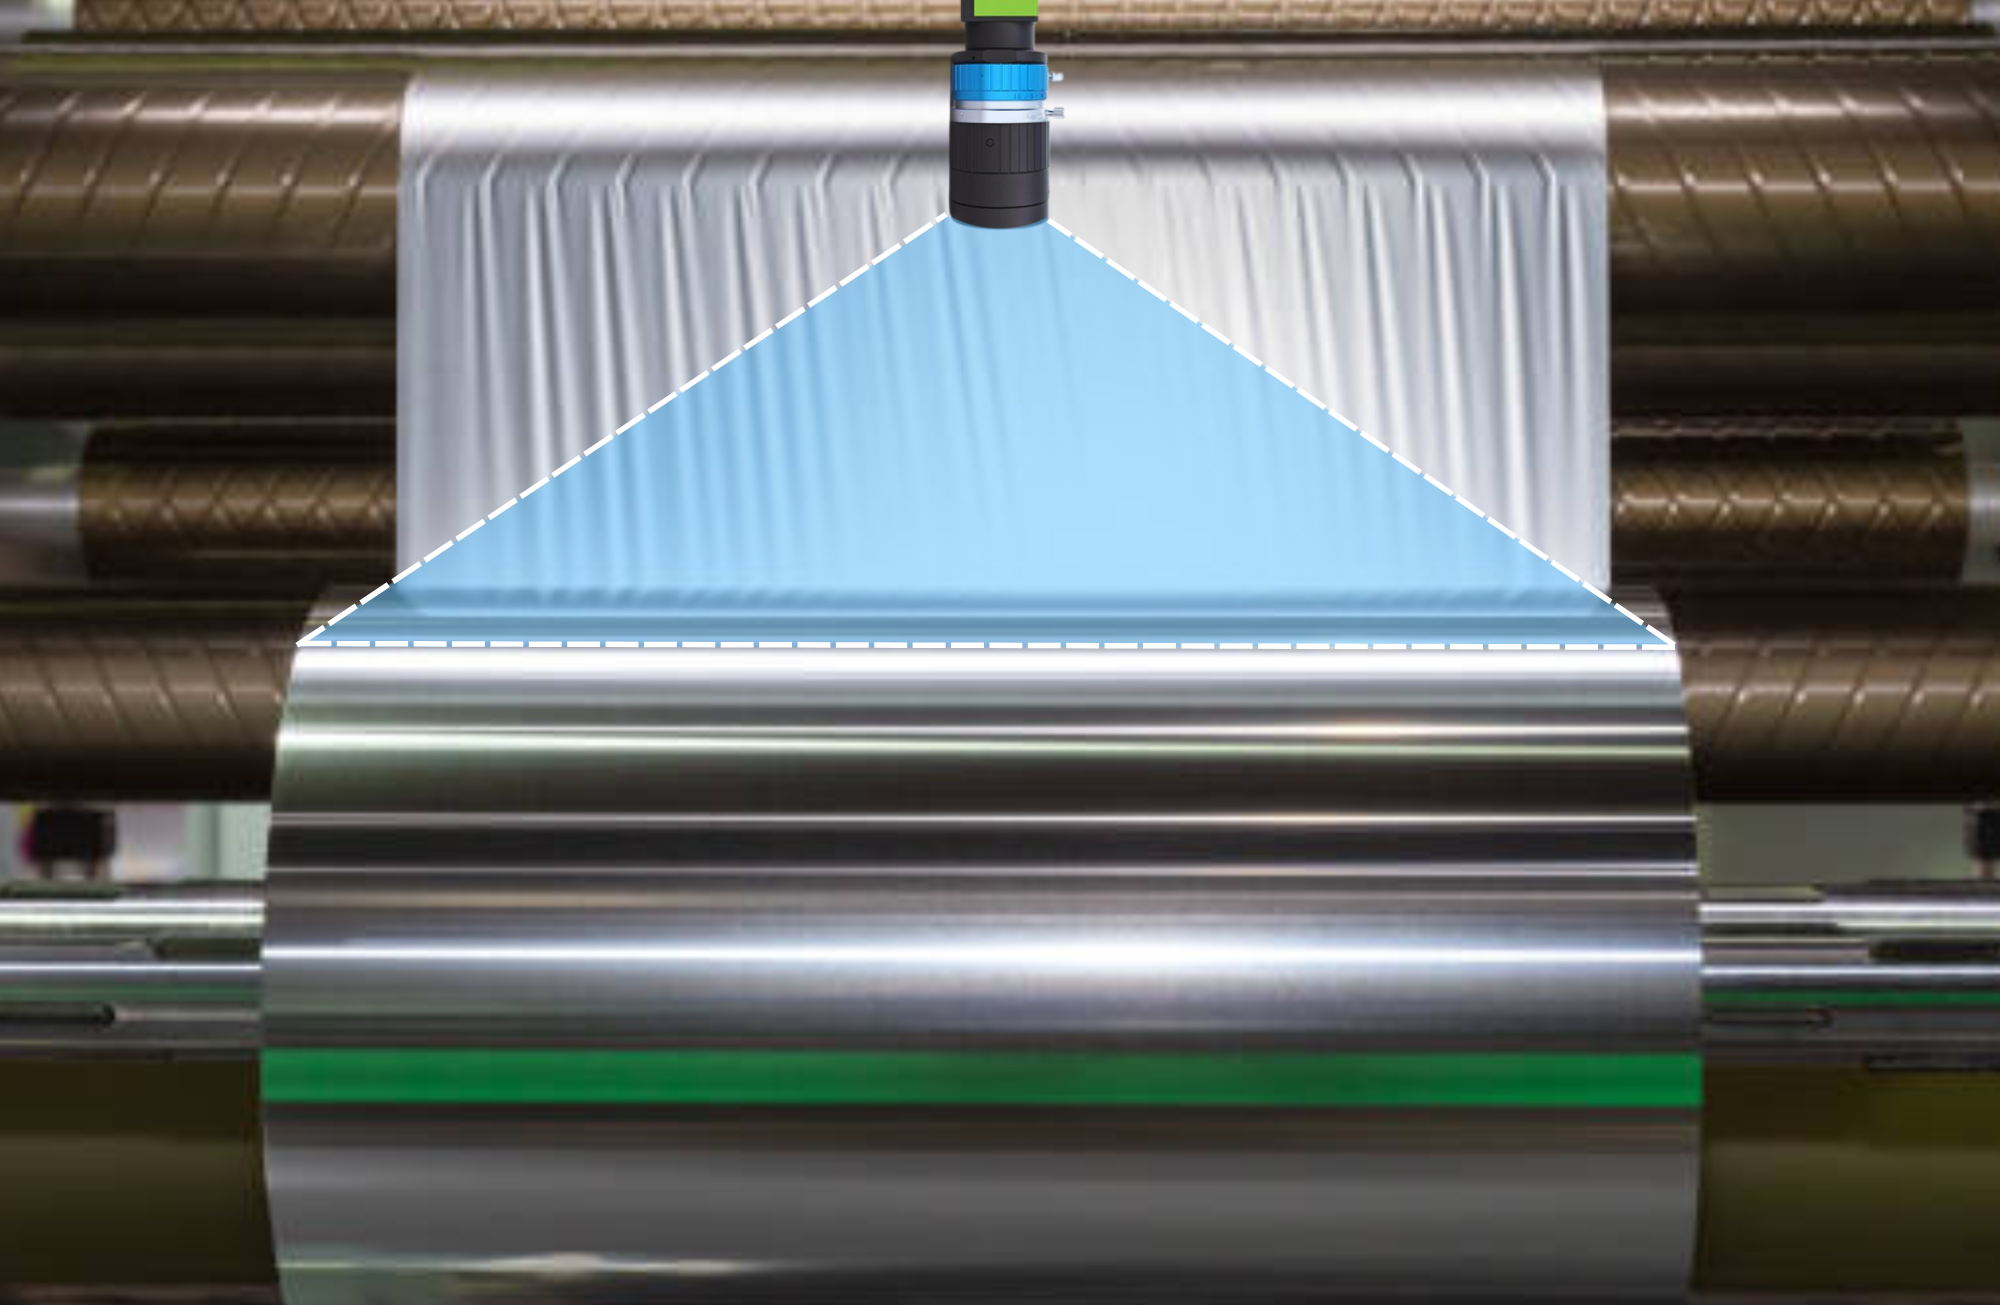
- Line Scan Cameras: Unlike area scan cameras that take a full picture at once, line scan cameras capture one row (line) of pixels at a time. As the product moves, the system builds a complete image line by line. This is incredibly effective for inspecting long or continuously moving objects.
- Lighting Setup: Inline systems often require strobe or high-intensity lighting that keeps up with the speed of the production line.
- Motion Encoders: These devices monitor the movement of the conveyor belt or rollers and help synchronize image acquisition with the exact position of the product.
- Processing Unit: The captured image lines are stitched together and analyzed in real time by powerful software capable of handling high-speed data streams.
- Optional Cameras: In addition to line scan cameras, area scan or even 3D cameras can be used for inspecting additional features, such as edge profiles or depth measurement.
Working Principle: How Inline Inspection Works
As products travel through the inspection zone, motion encoders detect the speed and position of each item. Line scan cameras begin capturing thin slices (image lines) of the product. These are then stitched together into a complete image by the processing unit.
The inspection software immediately evaluates the image for flaws like cracks, surface inconsistencies, missing elements, or incorrect labeling. Based on the result, the system may automatically sort out defective items or trigger alerts for intervention.

Where Is It Used? Applications of Inline Inspection
Inline inspection is a must-have in high-volume manufacturing settings, including:
- Packaging Lines: Ensuring labels are present, correctly positioned, and readable at high speeds.
- Textiles and Printing: Detecting print quality errors on fabric or plastic rolls.
- Wood Industry: Inspecting large wooden panels for knots, cracks, or surface discoloration.
- Glass and Metal Sheets: Monitoring surface integrity over long distances.
- Pharmaceutical : Inline pill counting and defect detection
- Steel and Metal Roll Production : Real-time detection of surface defects, scratches, edge cracks, and continuous monitoring of thickness and coating consistency during coil unwinding
Real-World Scenarios: Use Cases
Stationary Inspection Use Case – PCB Inspection with Area Scan Camera
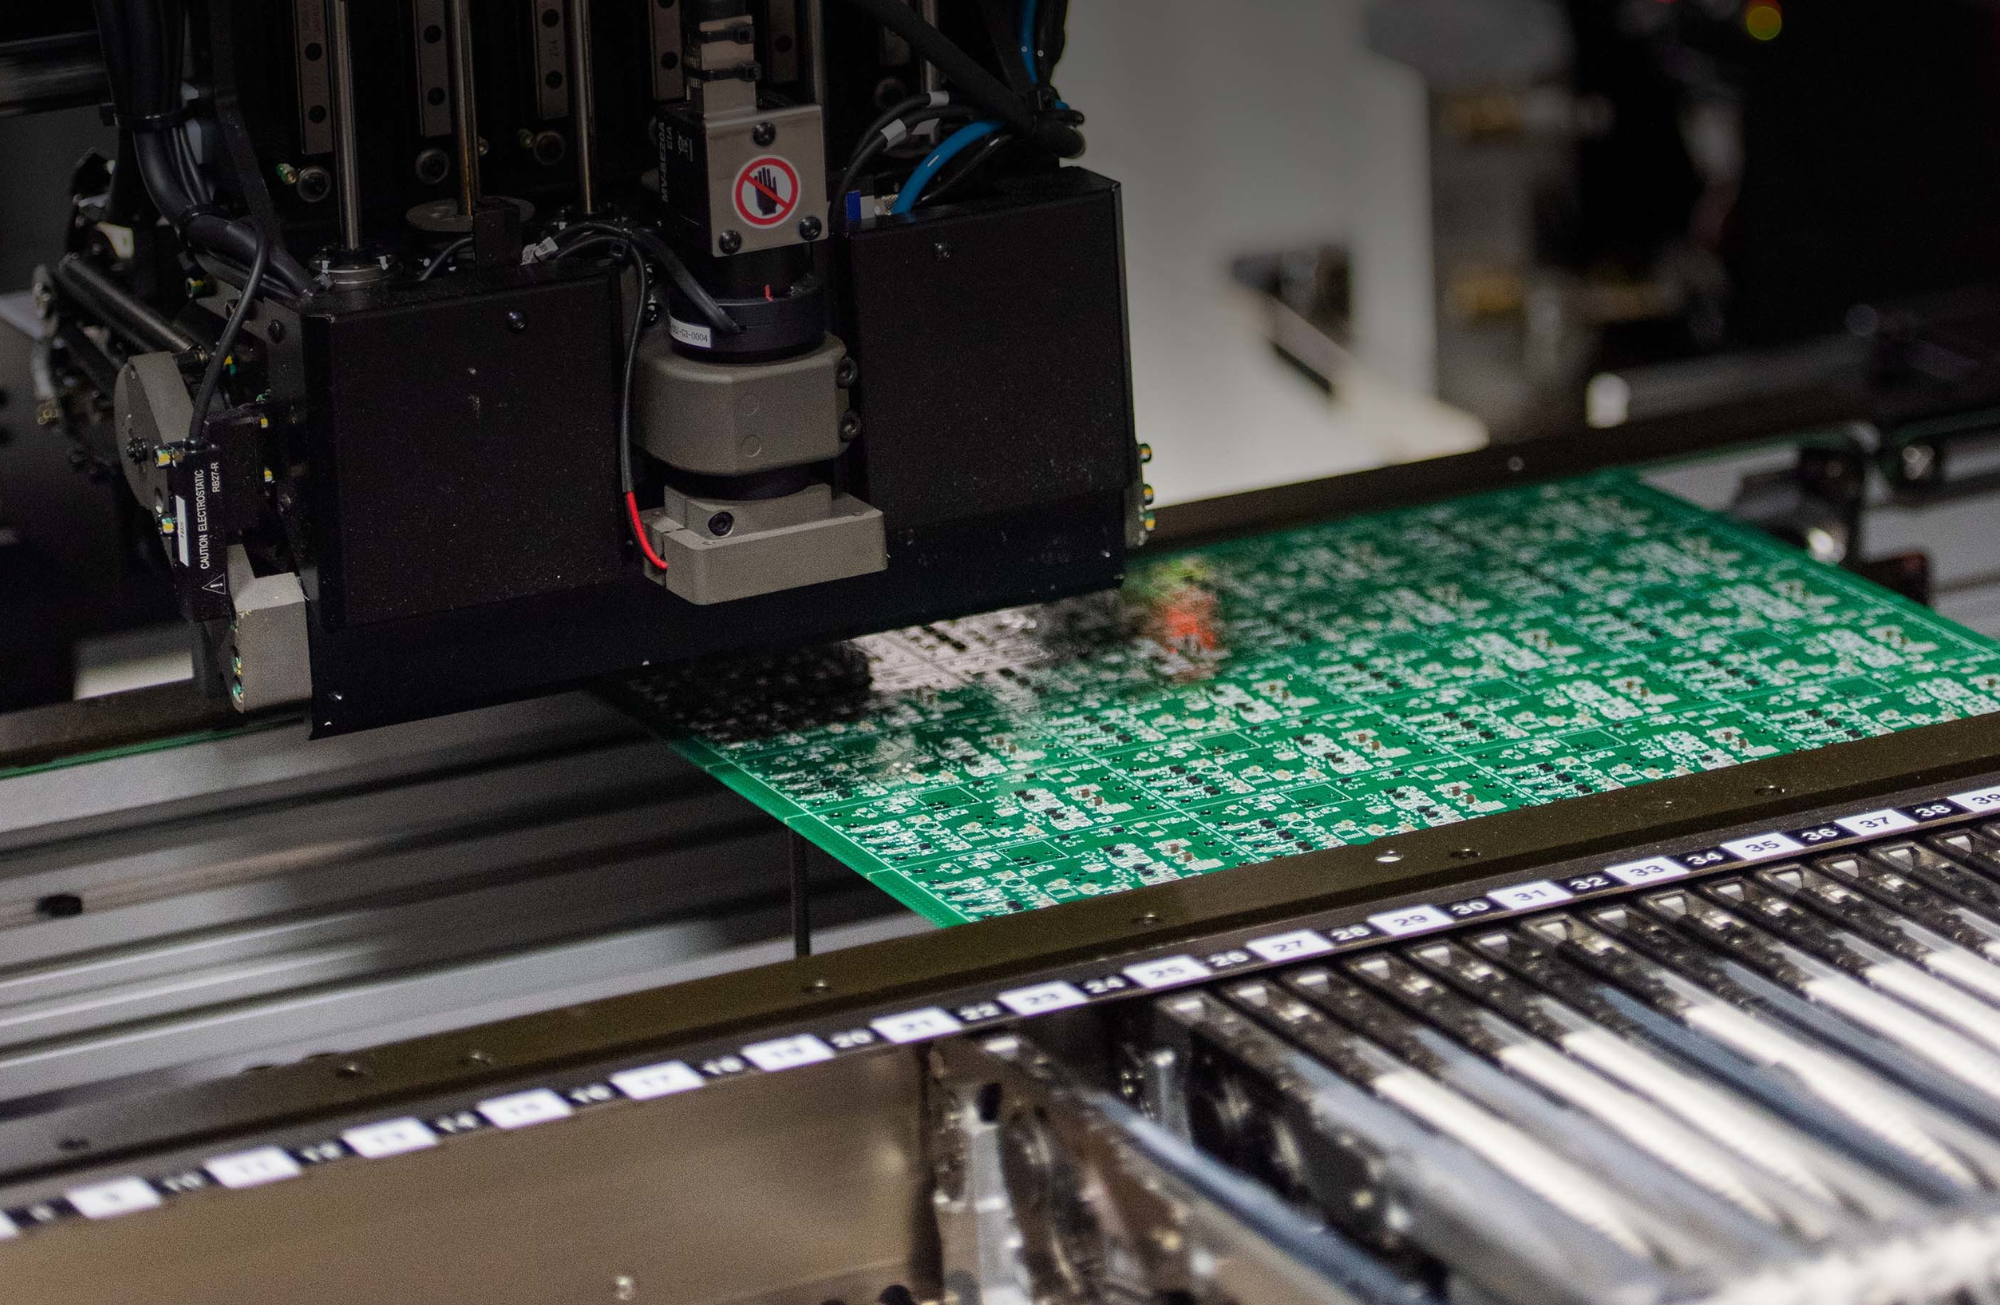
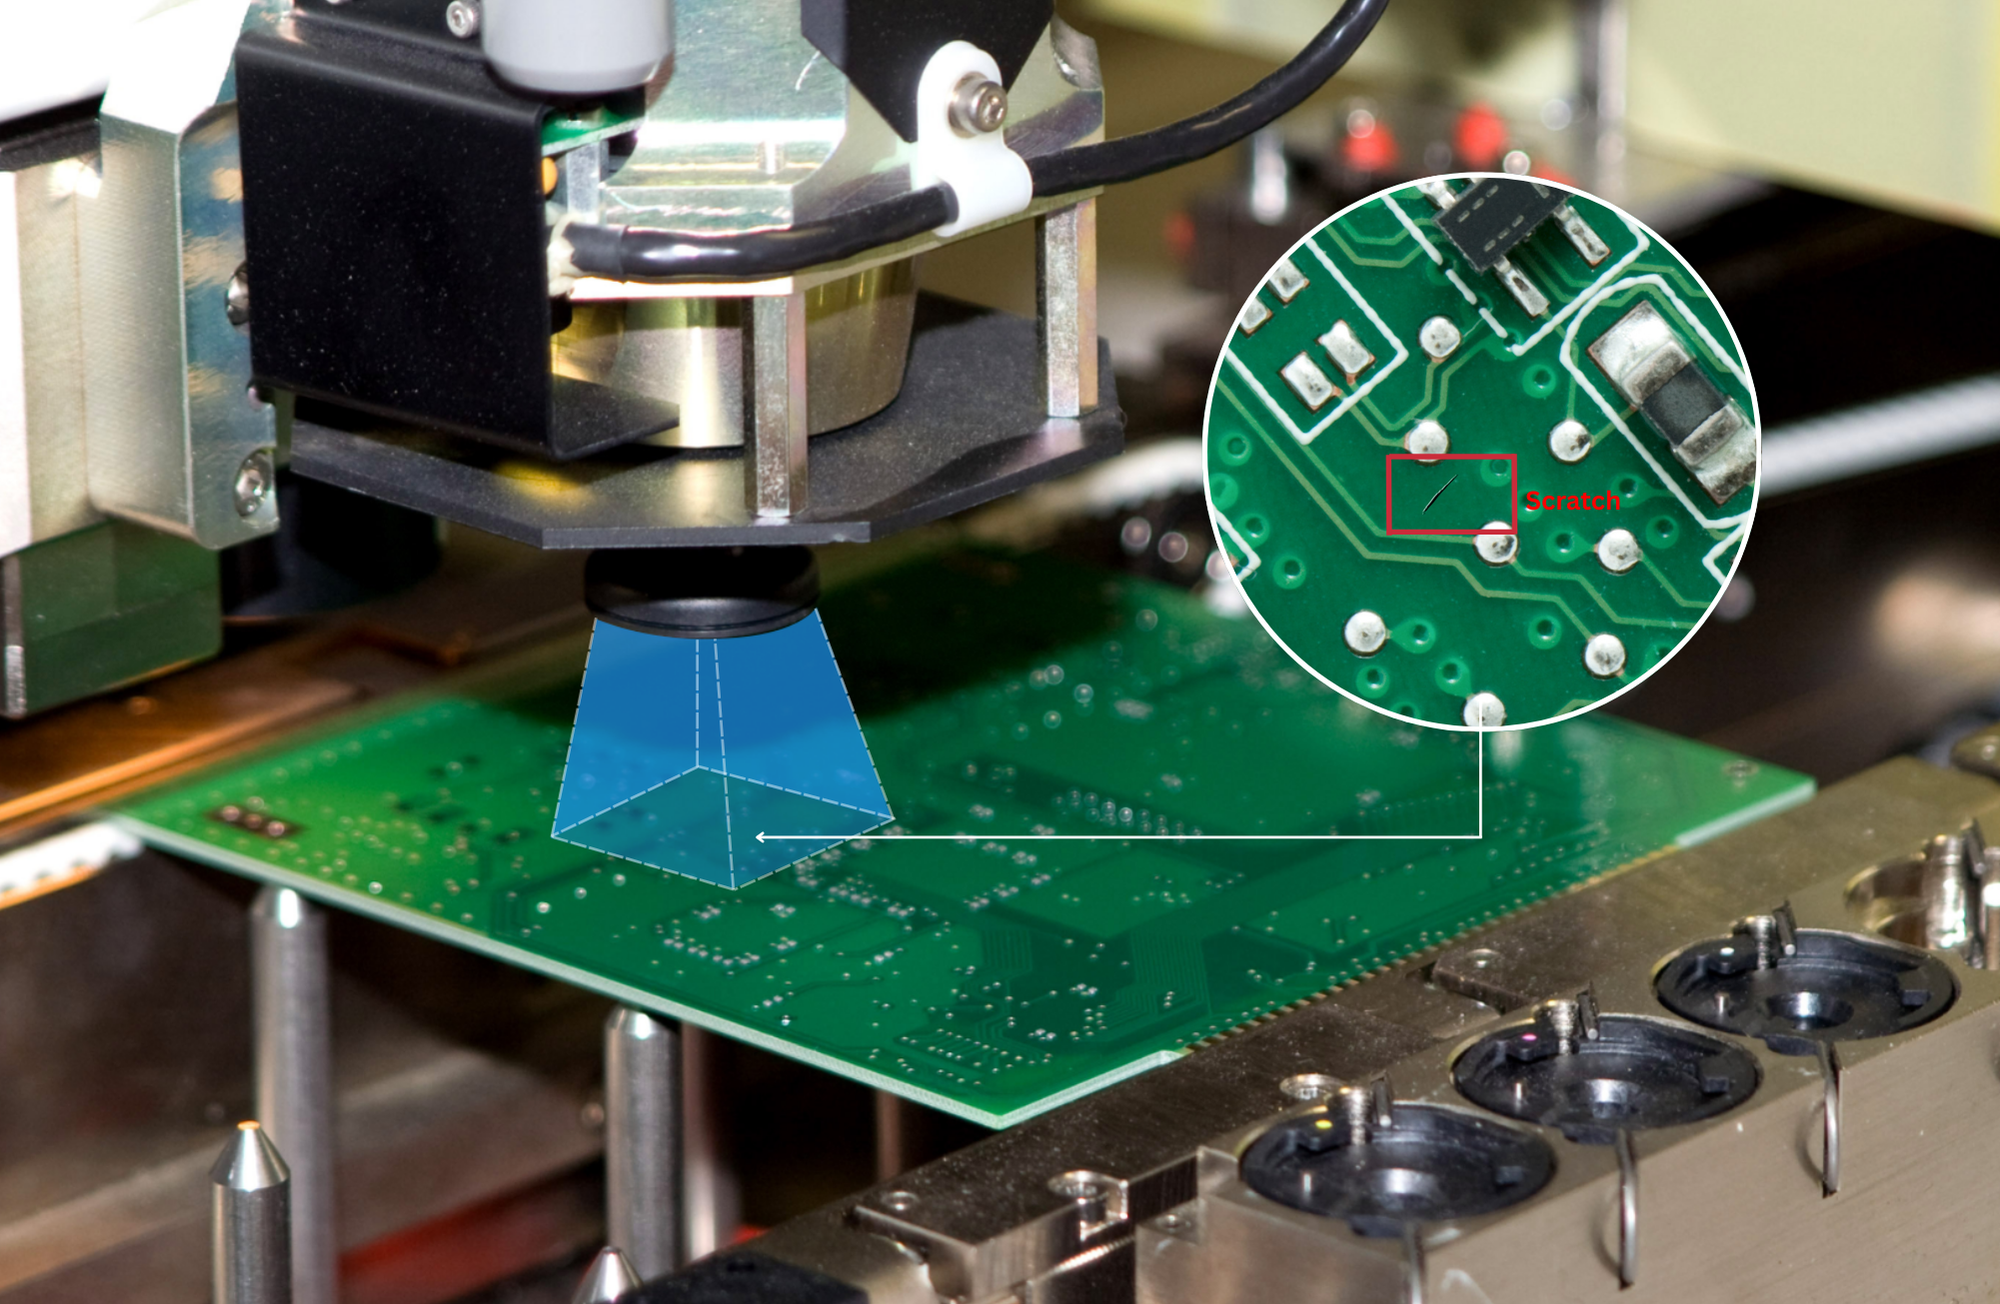
In an advanced electronics manufacturing facility, stationary inspection is deployed for high-precision analysis of Printed Circuit Boards (PCBs). Here, each PCB is manually or robotically placed under an area scan camera mounted above a dedicated inspection station.
The area scan camera captures a high-resolution 2D image of the entire board in a single frame, making it ideal for objects that do not move during inspection. With resolutions reaching up to 5 microns per pixel, the system can detect micron-level defects such as:
- Misaligned or missing microchips
- Micro-cracks in solder joints
- Dust particles or smudges affecting circuit connectivity
- Polarization mismatches in capacitors
The inspection software analyzes the image instantly using pattern recognition and AI-based models. Errors are flagged on the spot, and affected boards are diverted for rework. This ensures zero-defect tolerance in high-stakes electronics assembly, minimizing downstream failures and maximizing product reliability.
Camera Configuration:
- Camera Type: Area Scan
- Resolution: Up to 20 MP
- Defect Detection Threshold: ~5–10 microns
- Lighting: Coaxial or ring lighting for even surface illumination
Inline Inspection Use Case – Wooden Panel Quality Control with Line Scan Camera
At a large-scale furniture manufacturing plant, inline inspection ensures the continuous quality control of wooden panels during production. These panels move at high speed along a conveyor system. Mounted above the line is a line scan camera, synchronized with an encoder that tracks movement precisely.
Unlike area scan systems, a line scan camera captures one row of pixels at a time, stitching thousands of rows together to form a complete high-resolution image as the panel passes beneath. This approach is highly effective for large, fast-moving surfaces.
With resolution settings that allow detection down to 20–30 microns, this system identifies a variety of wood surface issues in real time, including:
- Surface cracks or splits
- Embedded knots
- Color inconsistencies and stains
- Warping or delamination lines
The image data is processed immediately using machine vision and AI algorithms. Based on the findings, the system triggers automatic rejection or grading mechanisms that route defective or subpar panels for recycling or repair. This ensures uniform quality and dramatically reduces waste in the production line.
Camera Configuration:
- Camera Type: Line Scan
- Resolution: 4K–8K per line; up to 100,000 lines per second
- Defect Detection Threshold: ~20–30 microns
- Lighting: Diffuse LED bar lights to highlight surface texture and depth
Intelgic’s Role: Redefining Vision Inspection
When it comes to advanced inspection technology, Intelgic has taken a significant leap forward by offering robust, AI-powered solutions for both stationary and inline systems. Here’s what makes Intelgic unique:
Smart AI-Driven Inspections
Intelgic doesn’t just detect defects—it understands them. By using AI models that learn from small datasets, their systems can identify subtle and complex issues, such as texture variation or inconsistent printing, that traditional systems might overlook.
Versatile Camera Support
Whether your use case needs area scan, line scan, or even 3D cameras, Intelgic’s platform supports all major types. This flexibility allows for the design of hybrid systems where different camera types work in unison.
Edge Processing for Speed and Reliability
In manufacturing, speed matters. Intelgic systems are built to run AI models locally (at the edge), minimizing delays caused by cloud processing. This results in ultra-fast defect detection and system response—essential for inline environments.
Scalable, Modular Architecture
Intelgic’s vision systems can scale with your business. Whether you're monitoring a single product or an entire production floor, the systems are modular and can be upgraded or expanded without rebuilding the infrastructure.
Insights & Reporting
Beyond detection, Intelgic offers real-time dashboards and historical analytics. This allows manufacturers to track defect trends, analyze root causes, and improve upstream processes—transforming quality control into a strategic advantage.
Conclusion: Choosing the Right System for Quality Control
Both stationary and inline inspection systems serve vital, yet distinct roles in manufacturing:
- Stationary systems are suited for high-detail, precision inspections where products can be positioned and reviewed in still frames.
- Inline systems are built for speed, inspecting products on the move without slowing down the production line.
The decision depends on the type of product, inspection goals, and speed of production. In many modern facilities, both systems coexist, covering different inspection needs at various stages.
With Intelgic’s intelligent, adaptive, and scalable technology, manufacturers don’t have to choose between precision and performance—they can have both. Whether you need to inspect a circuit board under a microscope or scan hundreds of meters of wood every hour, Intelgic ensures that quality is never compromised.

