Metal Part Inspection After Color Coating Using Machine Vision AI
Published on: Jan 02, 2025

Written by: Content team, Intelgic
Metal Part Inspection After Color Coating Using Machine Vision AI
Color-coated metal parts are essential in industries such as automotive, construction, appliances, and aerospace. These coatings enhance aesthetics, provide corrosion resistance, and improve durability. However, after color coating, metal parts may exhibit various defects, including scratches, bubbles, blobs, and bumps, which can compromise both functionality and appearance. Detecting these defects is crucial to maintaining quality standards.
Machine Vision AI systems provide a highly effective solution for automating the inspection process. These systems leverage advanced imaging, optimized lighting, and AI-powered analysis to identify defects with precision, even in challenging scenarios such as shiny or textured surfaces, and parts with light or dark colors.
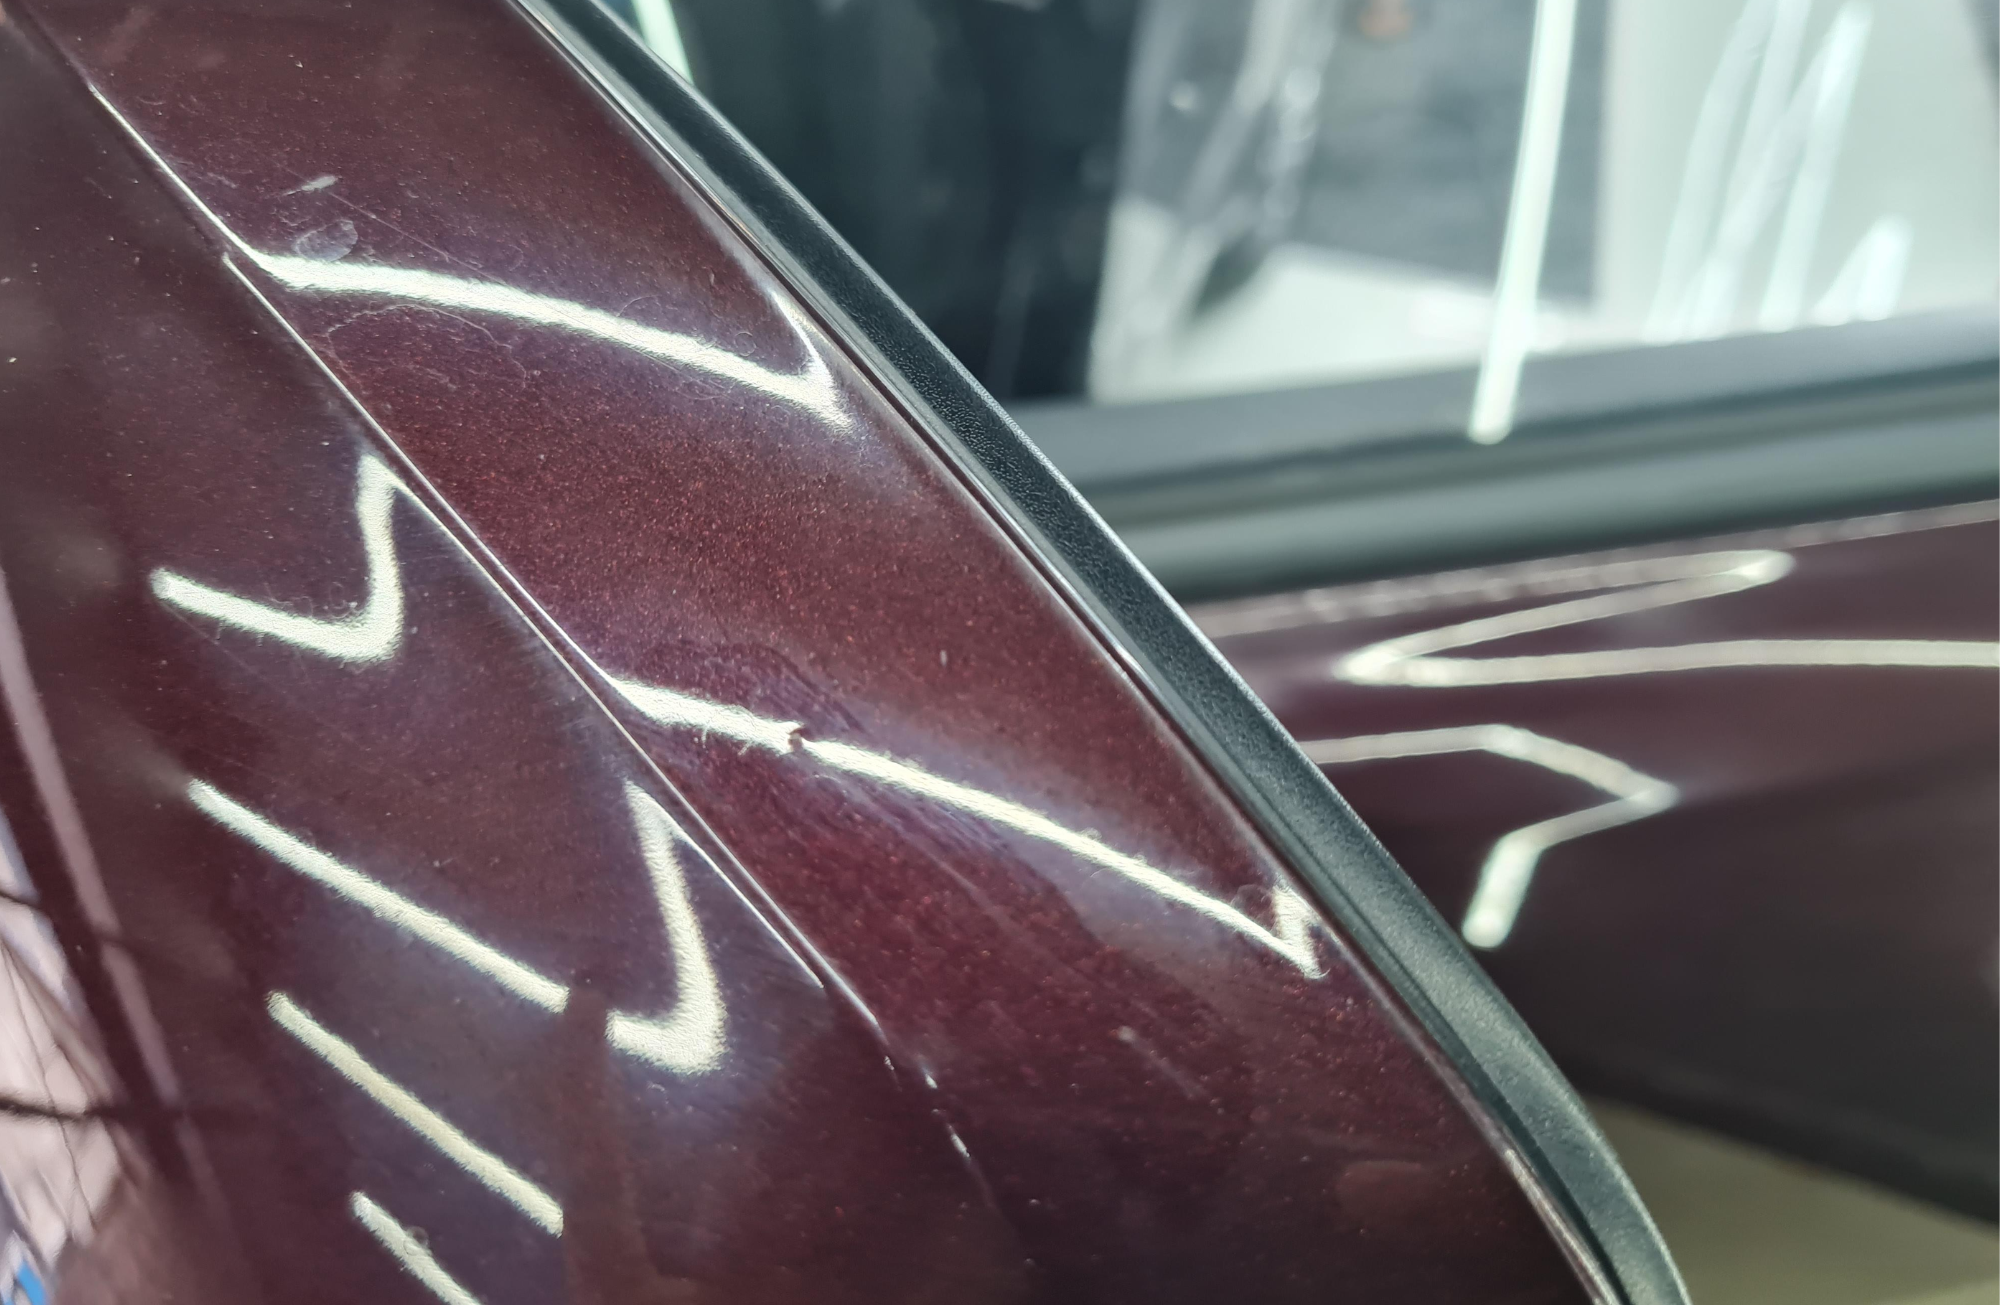
Common Defects in Color-Coated Metal Parts
- Scratches:
- Surface abrasions caused by handling, tooling, or processing errors.
- Bubbles:
- Air pockets trapped under the coating, leading to raised or uneven surfaces.
- Blobs:
- Excess paint or coating material forming small mounds or drops on the surface.
- Bumps:
- Small raised areas caused by contamination, improper application, or underlying surface defects.
- Discoloration:
- Uneven color distribution or spots caused by inconsistent coating application.
- Coating Thickness Variations:
- Areas with too much or too little coating material.
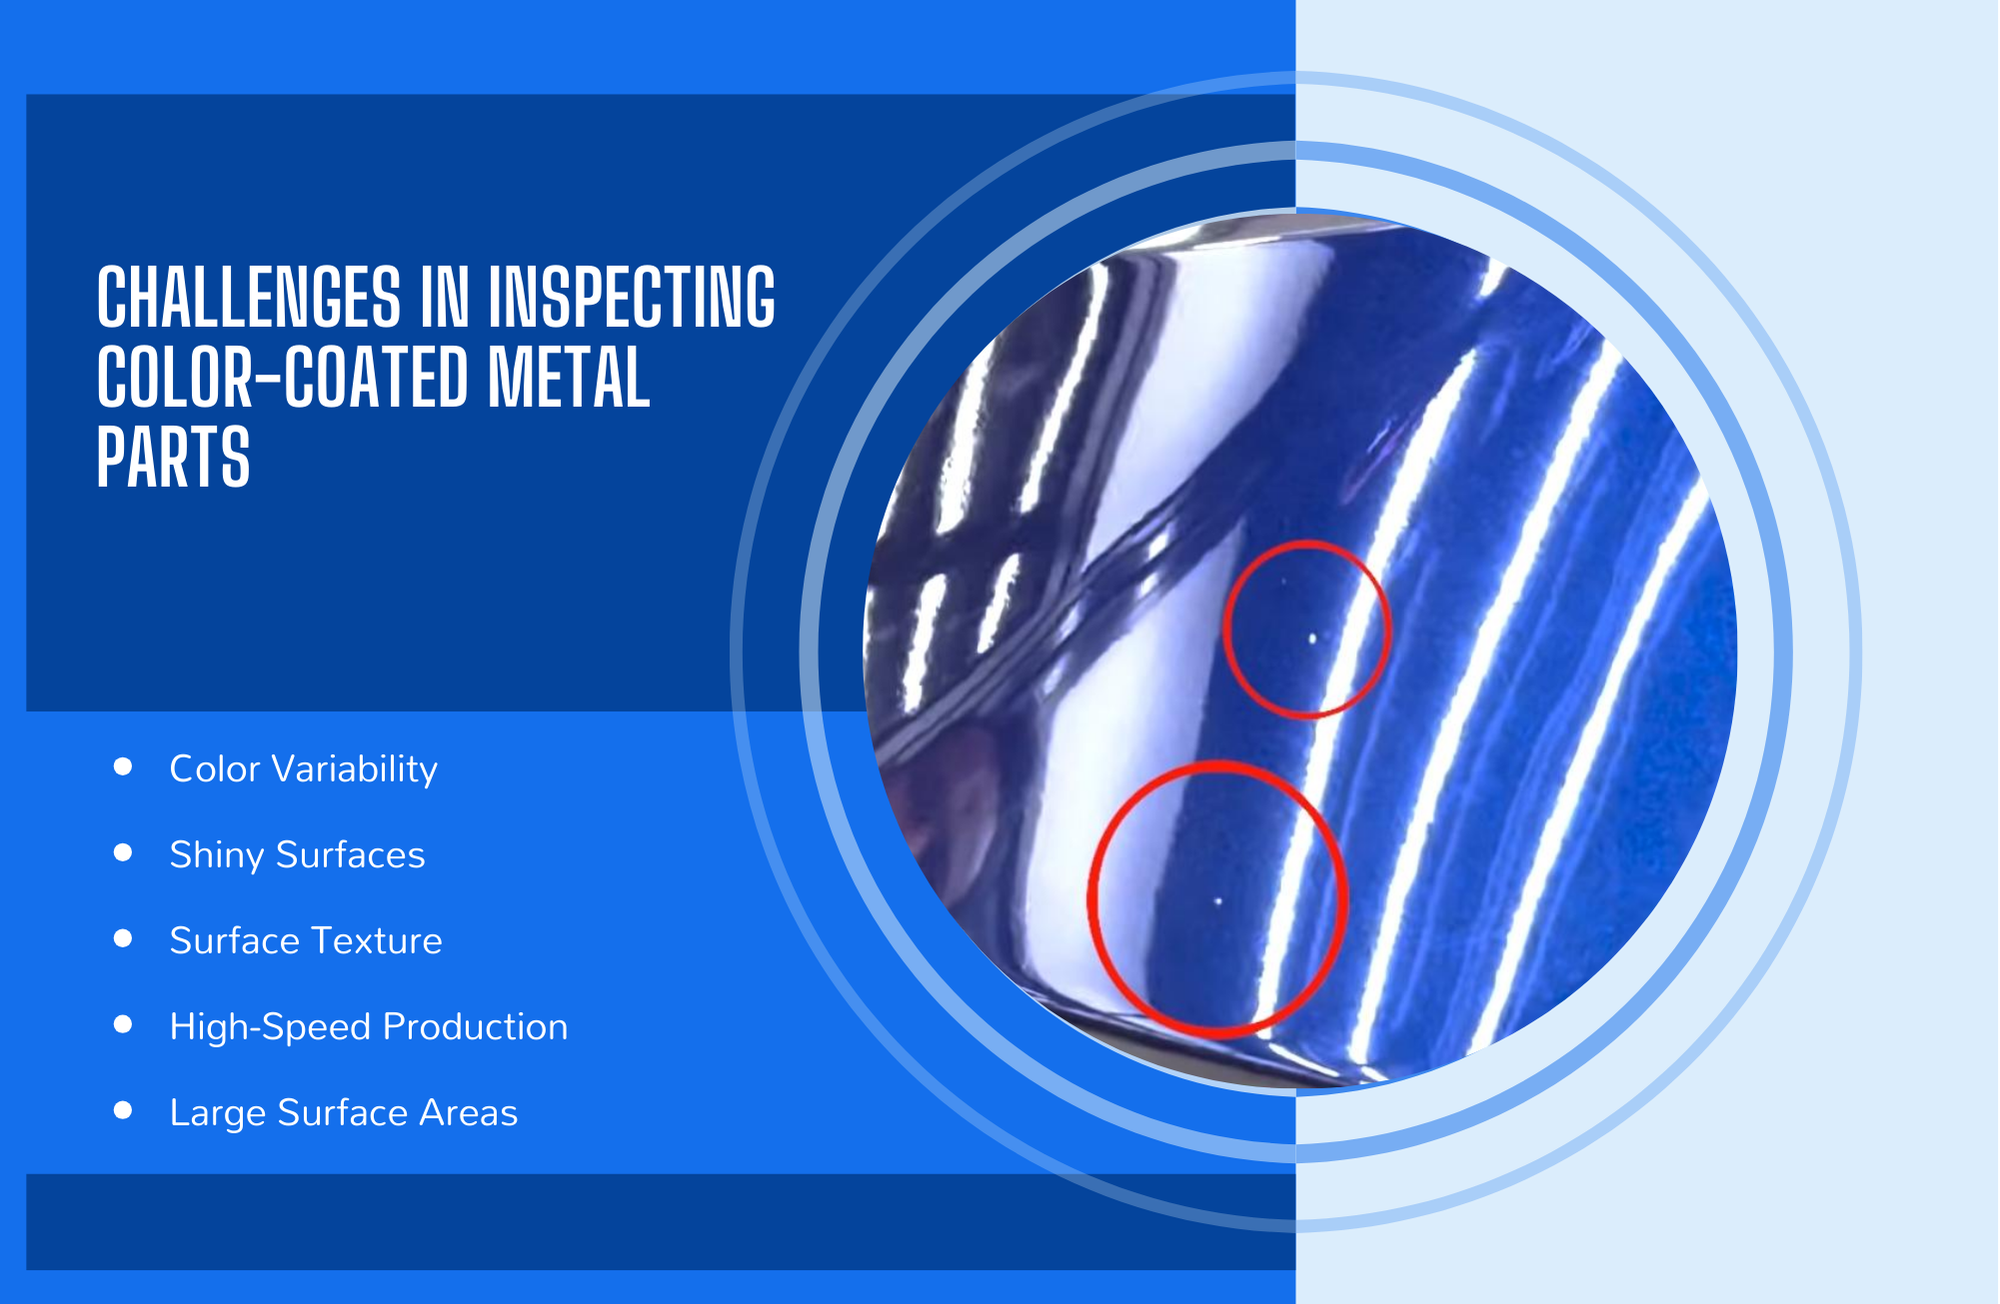
Challenges in Inspecting Color-Coated Metal Parts
- Color Variability:
- Metal parts can be coated in light colors (e.g., white, beige), dark colors (e.g., black, blue), or textured finishes, requiring adaptable inspection techniques.
- Shiny Surfaces:
- Reflective coatings can create glare, obscuring defects and complicating imaging.
- Surface Texture:
- Textured or patterned coatings require systems that can differentiate between intentional design and actual defects.
- High-Speed Production:
- Metal sheets or parts moving on a conveyor at high speeds require real-time inspection capabilities.
- Large Surface Areas:
- Wide sheets or large components necessitate high-resolution imaging and comprehensive coverage.
Key Technologies for Metal Part Inspection
1. High-Resolution Cameras
- Line-Scan Cameras:
- Ideal for inspecting moving sheets or large components. Captures images line by line and stitches them together for a complete view.
- Area-Scan Cameras:
- Useful for stationary parts or slower production lines. Captures high-resolution snapshots of entire sections.
2. Advanced Lighting Solutions
Lighting is critical for highlighting defects while minimizing glare and reflections. Different lighting techniques are used depending on the color and finish of the coated metal.
- For Dark Colors (Black, Blue):
- High-Intensity Lighting: Ensures sufficient illumination for dark surfaces.
- Directional Lighting at an Angle: Reduces glare and reflections while highlighting surface irregularities like scratches and bumps.
- For Light Colors (White, Beige):
- Diffuse Lighting: Provides uniform illumination, preventing hotspots or shadows.
- Even Lighting Distribution: Enhances visibility of subtle defects such as discoloration or coating thickness variations.
- For Shiny or Glossy Surfaces:
- Polarized Lighting: Minimizes reflections, improving defect visibility.
- Dark-Field Illumination: Highlights surface irregularities by scattering light.
3. AI-Powered Defect Detection
AI algorithms analyze images captured by cameras to detect, classify, and report defects.
- Pattern Recognition:
- Identifies normal patterns and flags deviations such as blobs, bubbles, or discoloration.
- Contrast Enhancement:
- Adjusts image contrast to highlight subtle defects on light or dark surfaces.
- Real-Time Analysis:
- Processes images instantly, enabling immediate defect detection and corrective actions.
- Defect Classification:
- Categorizes defects based on size, type, and severity for actionable insights.
4. Conveyor and Motion Control
- Uniform Speed:
- Ensures consistent imaging by maintaining a steady conveyor speed.
- Encoders and Triggers:
- Synchronize the camera and lighting system with the conveyor’s movement for accurate inspections.
How the Inspection System Works
- Part Placement:
- Metal parts or sheets are placed on a conveyor or stationary inspection platform.
- Imaging:
- Cameras capture high-resolution images of the coated surface. Line-scan cameras are used for moving sheets, while area-scan cameras are employed for static inspections.
- Lighting Optimization:
- Lighting is adjusted based on the color and finish of the coating to enhance defect visibility.
- AI Analysis:
- The captured images are processed in real-time to detect and classify defects.
- Feedback and Sorting:
- Defective parts are flagged for rework or rejected, while quality parts proceed to the next stage.
- Data Logging:
- Inspection data is recorded for quality control and process improvement.
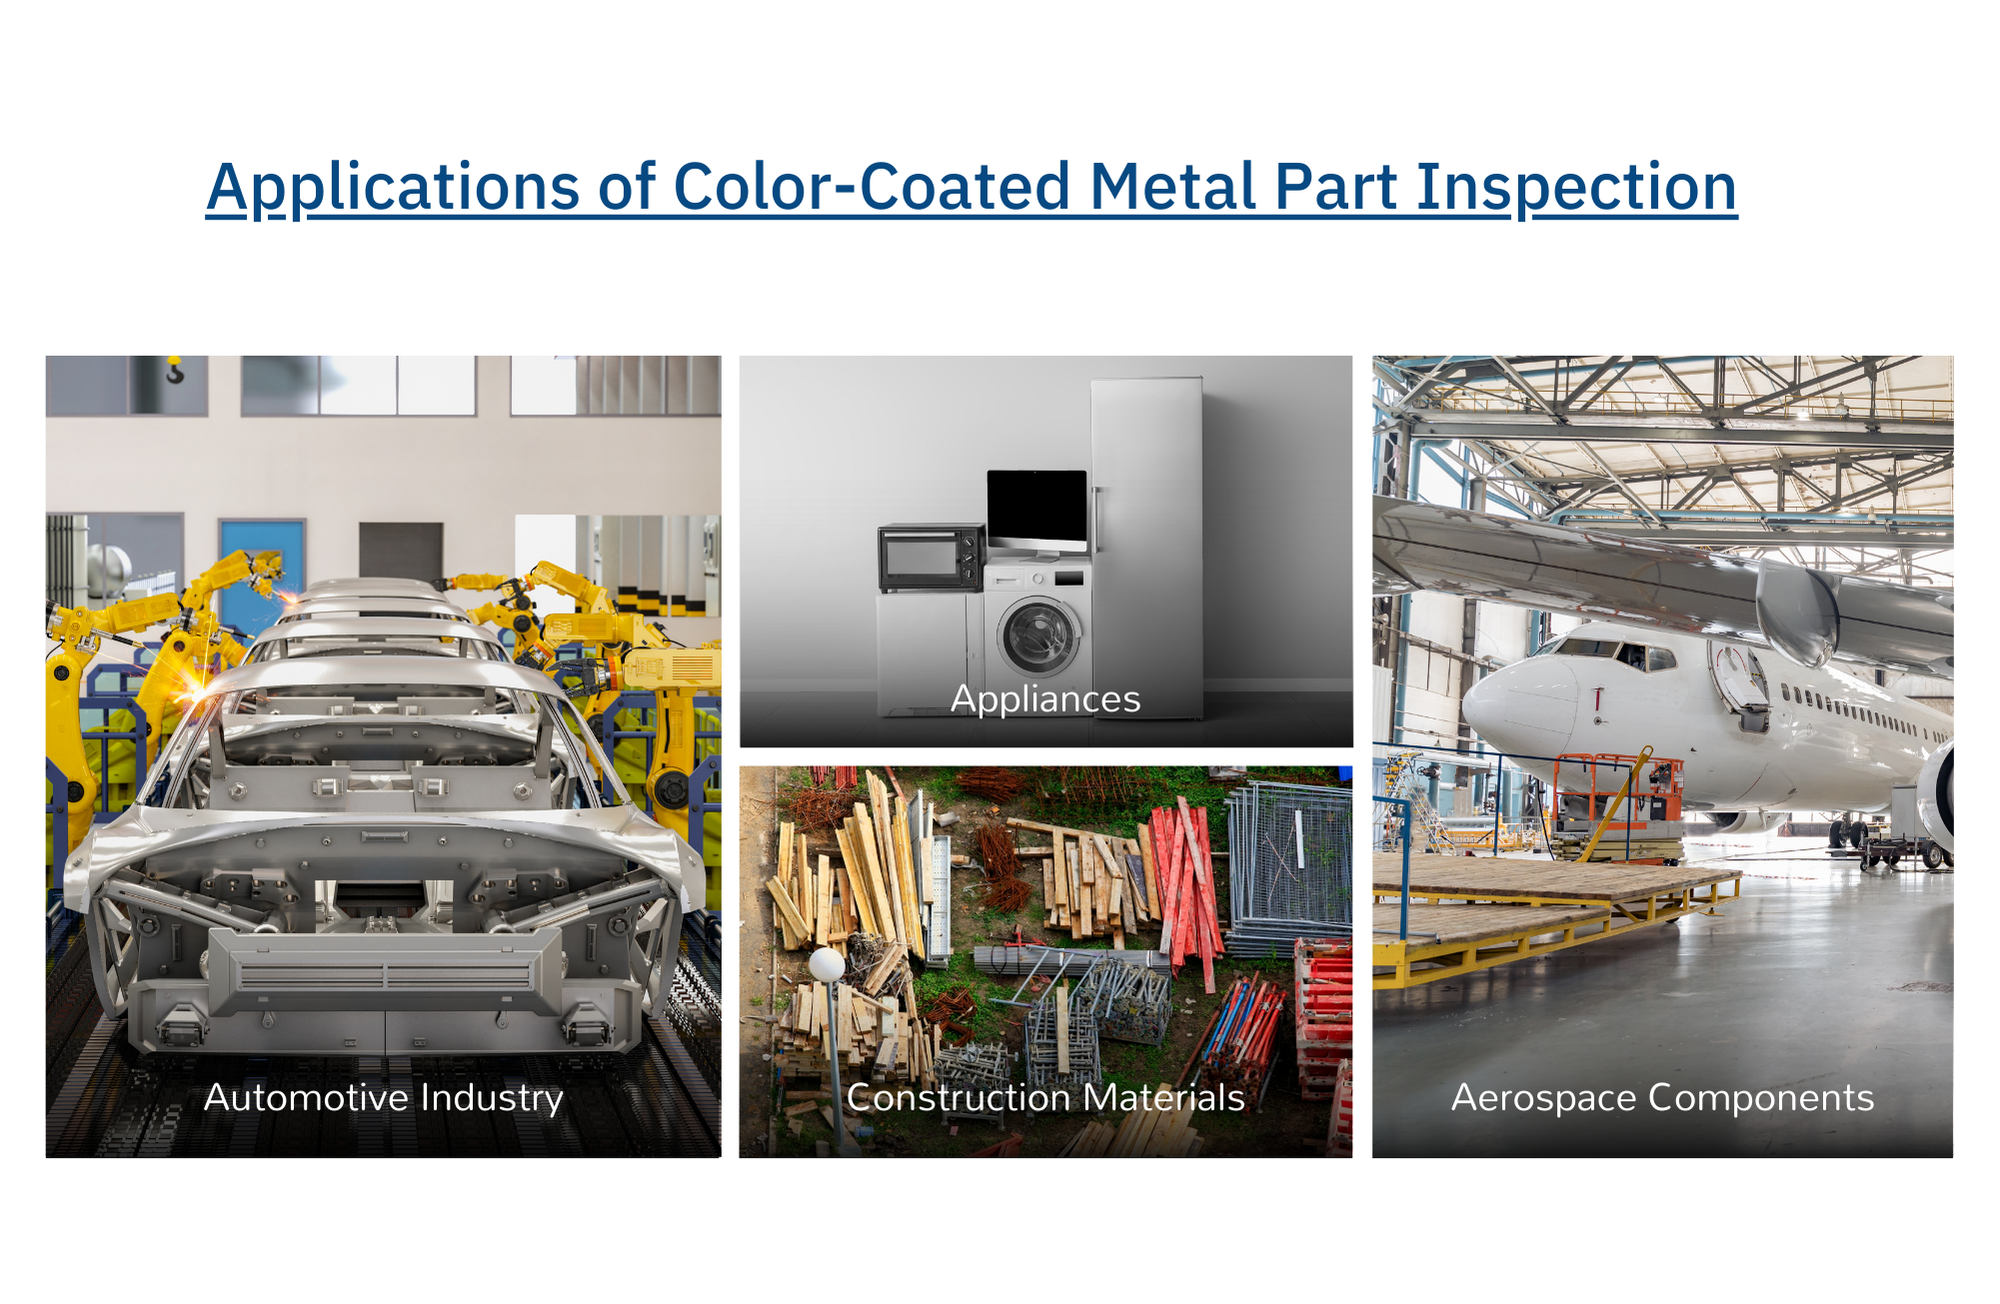
Applications of Color-Coated Metal Part Inspection
- Automotive Industry:
- Inspecting car body panels, bumpers, and trim for scratches, bubbles, and coating inconsistencies.
- Appliances:
- Ensuring defect-free coatings on refrigerators, washing machines, and other appliances.
- Construction Materials:
- Inspecting metal sheets and panels used in roofing, cladding, and facades for uniformity and durability.
- Aerospace Components:
- Verifying the quality of coated parts used in aircraft exteriors and interiors.
Benefits of Automated Inspection
- High Accuracy:
- Detects even the smallest defects, ensuring consistent quality.
- Real-Time Feedback:
- Provides immediate insights, enabling quick corrective actions to minimize waste.
- Increased Efficiency:
- Automates the inspection process, reducing reliance on manual labor and increasing throughput.
- Cost Savings:
- Reduces rework and warranty claims by ensuring defect-free products.
- Scalability:
- Adapts to different part sizes, colors, and production speeds.
Best Practices for Implementing Metal Part Inspection Systems
- Calibrate Regularly:
- Periodically calibrate cameras and lighting to maintain inspection accuracy.
- Optimize Lighting Setup:
- Experiment with lighting angles and intensities to achieve the best defect visibility for each color and finish.
- Train AI Algorithms:
- Use diverse datasets to train AI models, ensuring robust defect detection across varying conditions.
- Monitor System Performance:
- Continuously monitor and adjust the system based on production changes or recurring defects.
Intelgic’s Expertise in Metal Part Inspection
At Intelgic, we design and implement AI-powered machine vision systems tailored for color-coated metal part inspection. Our solutions combine advanced imaging technologies, custom lighting setups, and state-of-the-art AI algorithms to deliver precise and efficient defect detection.
Why Choose Intelgic?
- Tailored Solutions:
- Systems customized to your specific product types, colors, and production speeds.
- Cutting-Edge Technology:
- Integration of high-resolution cameras and optimized lighting for superior defect detection.
- Comprehensive Support:
- From consultation to deployment and ongoing maintenance, we ensure seamless integration.
Inspecting color-coated metal parts for defects is a critical aspect of quality control in modern manufacturing. By leveraging Machine Vision AI, manufacturers can overcome challenges posed by color variability, reflective surfaces, and high-speed production lines. Automated inspection systems ensure consistent quality, reduce waste, and enhance operational efficiency.
Intelgic’s expertise in automated inspection solutions empowers manufacturers to achieve unmatched precision and reliability in defect detection. Contact Intelgic today to learn how our systems can revolutionize your quality control processes.
