How to Automate Anomaly Detection and Inspection on Color-Coated Aluminum or Metal Surfaces
Published on: Dec 18, 2024

Written by: Soumen das
How to Automate Anomaly Detection and Inspection on Color-Coated Aluminum or Metal Surfaces
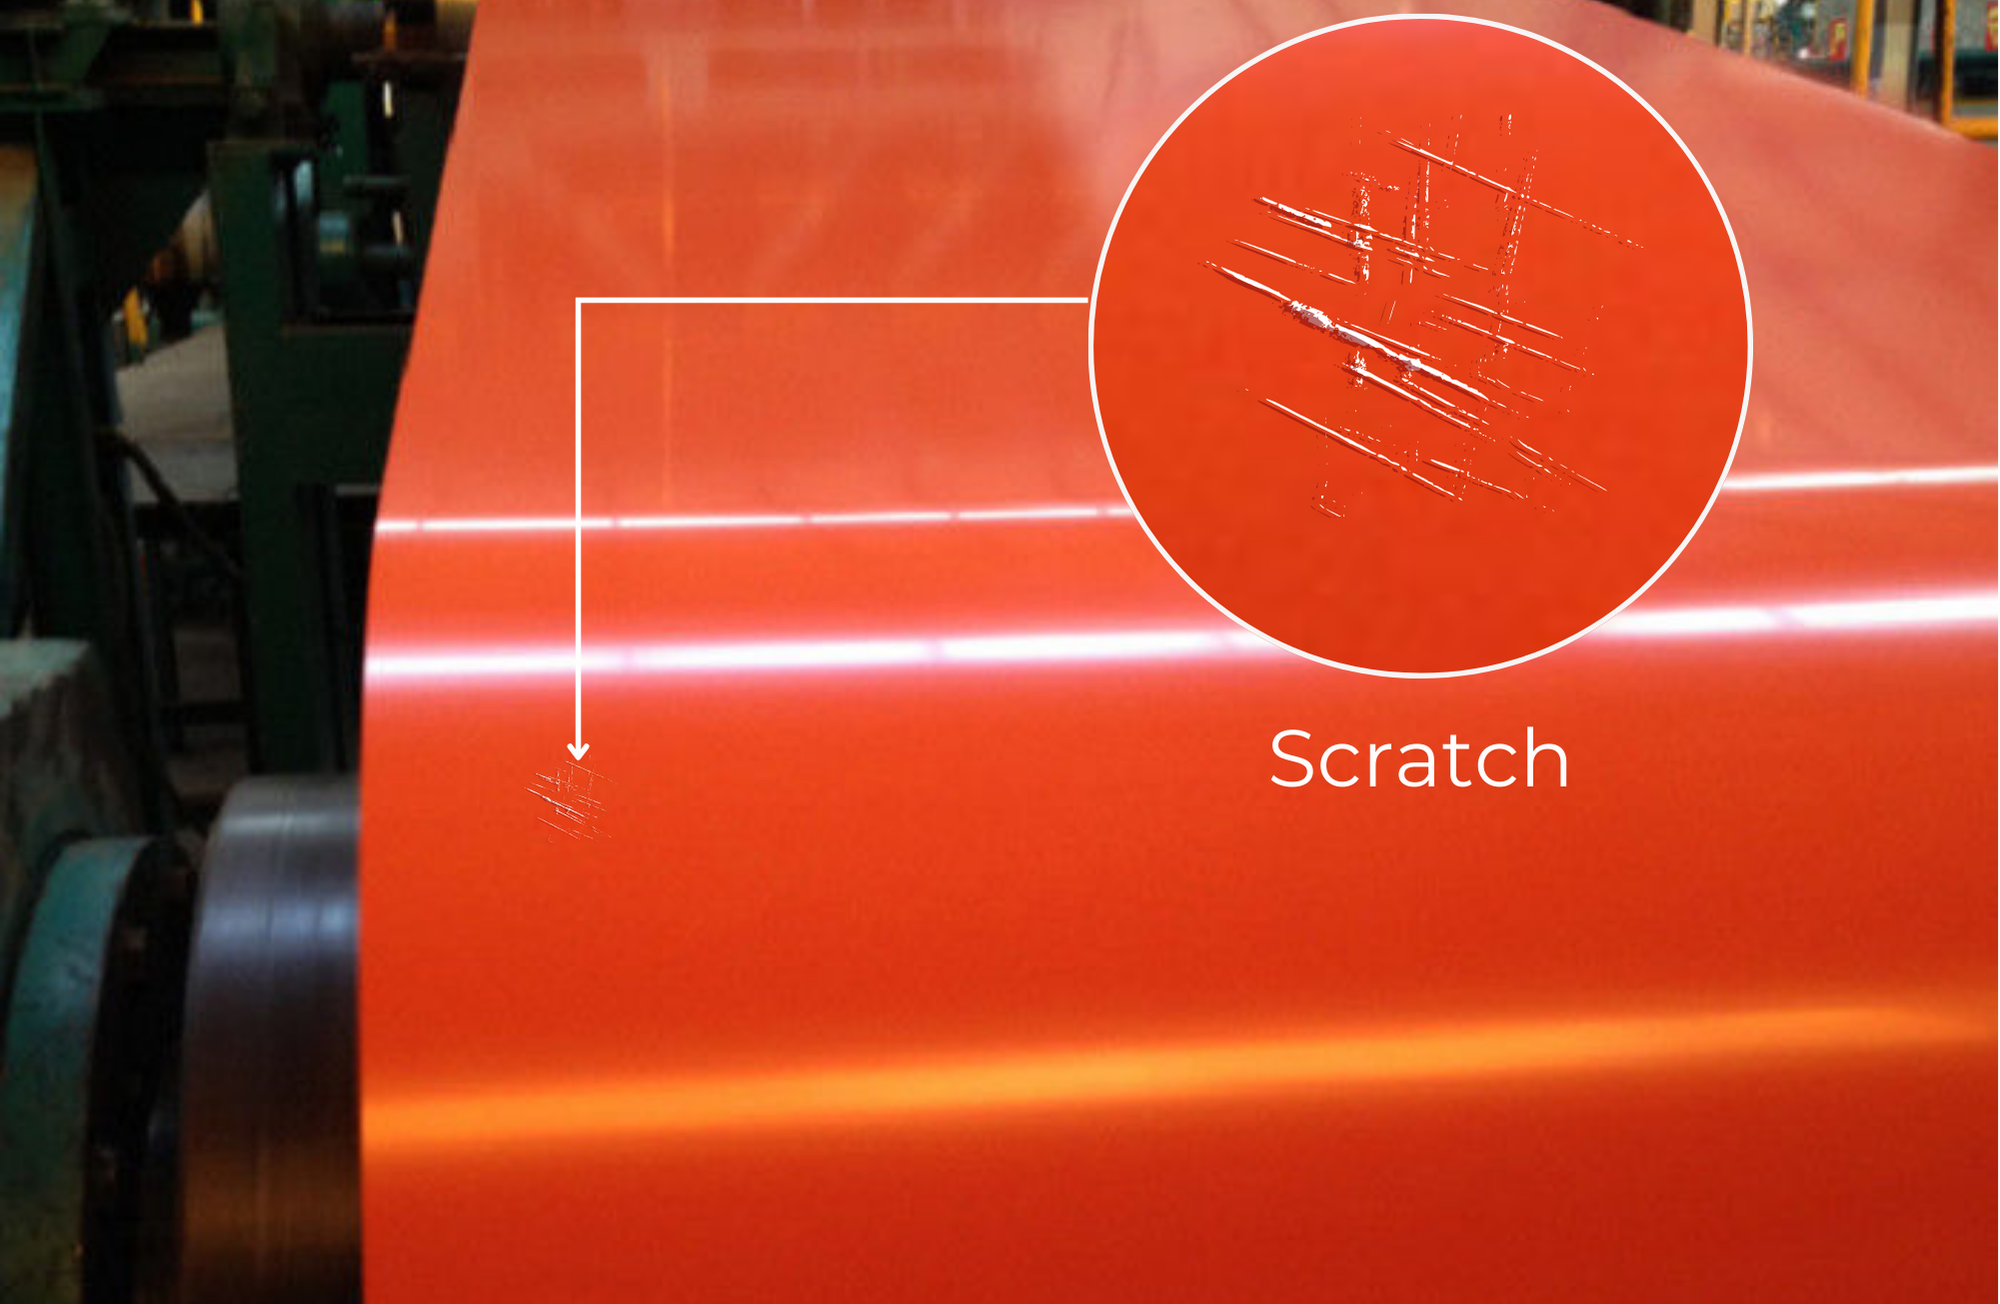
Color-coated aluminum and metal surfaces are widely used in industries such as construction, automotive, and consumer goods. These materials must meet stringent quality standards, as any anomalies—such as scratches, dents, coating inconsistencies, or discoloration—can compromise their appearance, functionality, and durability.
Automating the inspection and anomaly detection process is essential for achieving consistent quality control in high-speed production environments.

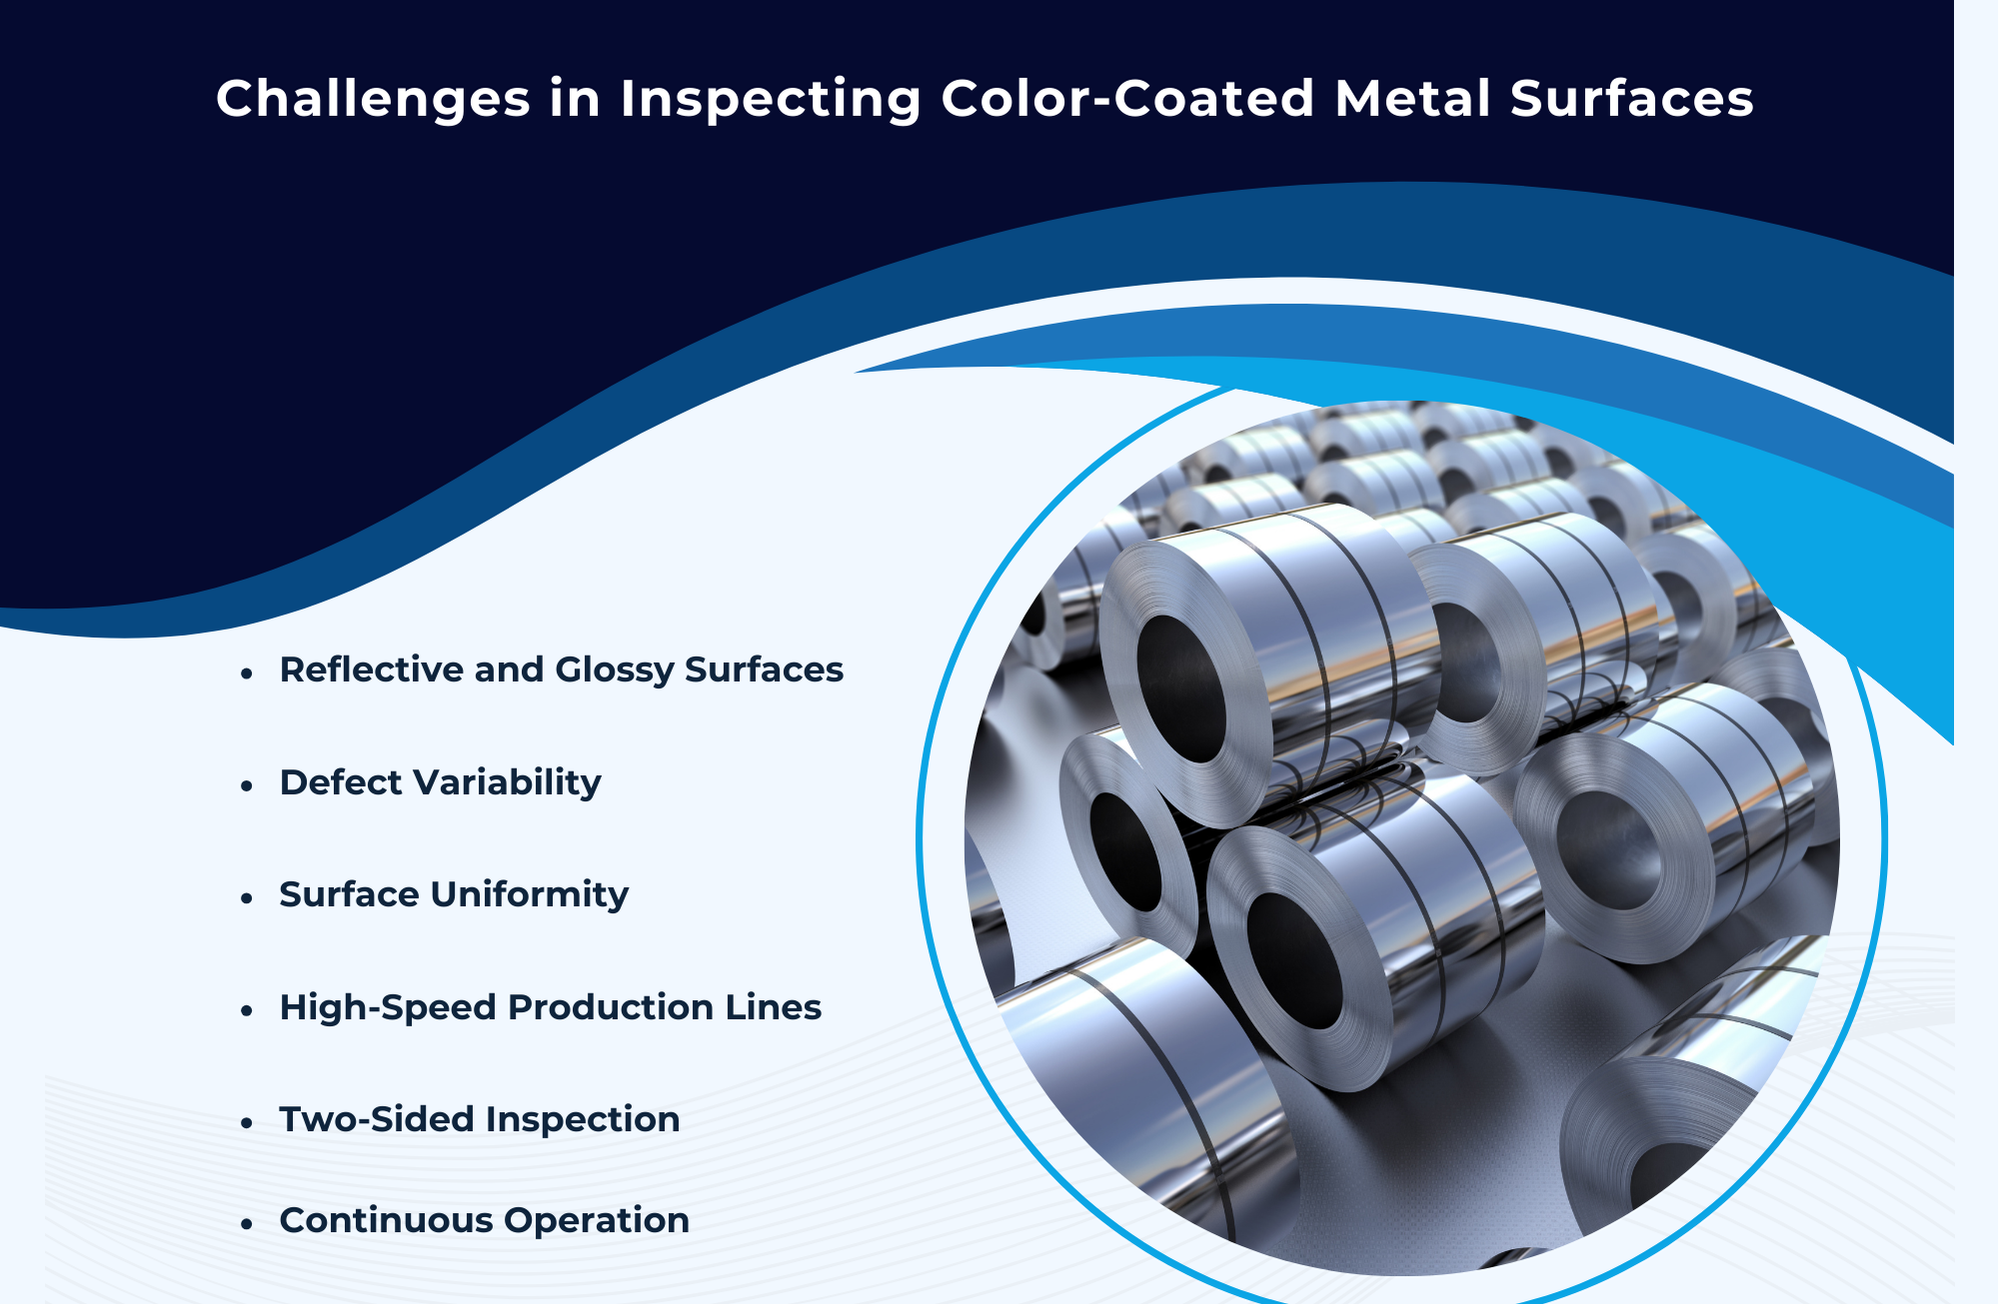
Challenges in Inspecting Color-Coated Metal Surfaces
Inspecting color-coated surfaces presents unique challenges due to their reflective properties, surface variability, and the types of defects that can occur:
- Reflective and Glossy Surfaces:
- Color-coated surfaces often have high reflectivity, which can cause glare and obscure defects during imaging.
- Defect Variability:
- Common defects include scratches, dents, coating thickness variations, discoloration, streaks, and contamination.
- Some defects are subtle and require high precision to detect.
- Surface Uniformity:
- Maintaining uniform color and texture across the surface is critical, but small variations can be hard to identify visually.
- High-Speed Production Lines:
- Sheets or coils move at high speeds, requiring real-time inspection systems that can keep pace with production.
- Two-Sided Inspection:
- Both the top and bottom surfaces often need to be inspected simultaneously.
- Continuous Operation:
- Production lines often run 24/7, requiring robust inspection systems that can operate reliably under continuous use.

Key Components of an Automated Anomaly Detection System
1. Machine Vision Cameras
High-resolution cameras are the backbone of any automated inspection system. They capture detailed images of the surface for defect detection.
- Line-Scan Cameras:
Ideal for continuous inspection of fast-moving metal sheets. They capture images line by line and stitch them together for full surface coverage. - Area-Scan Cameras:
Suitable for stationary or slower-moving parts where detailed imaging of specific areas is required. - Multi-Camera Systems:
Multiple cameras can be used to inspect wide surfaces and capture both top and bottom sides simultaneously.
2. Advanced Lighting Solutions
Proper lighting is critical for highlighting defects on reflective and color-coated surfaces.
- Diffuse Lighting:
Reduces glare and ensures even illumination across the surface, making defects like scratches and streaks more visible. - Directional Lighting:
Enhances surface textures and reveals inconsistencies in coating or color. - Multi-Angle Lighting:
Illuminates the surface from different angles, ensuring comprehensive defect detection. - Polarized Lighting:
Minimizes reflections on glossy surfaces, improving contrast for better anomaly detection.
3. AI-Powered Anomaly Detection
Artificial Intelligence (AI) enhances the accuracy and efficiency of defect detection by analyzing complex patterns and identifying subtle anomalies.
- Customizable Algorithms:
AI models are trained on defect datasets, enabling them to recognize specific defects such as discoloration, scratches, or coating irregularities. - Real-Time Processing:
AI analyzes images in real time, identifying defects instantly and providing actionable insights. - Defect Classification:
AI categorizes anomalies by type, size, and severity, helping prioritize corrective actions.
4. Motion Control Systems
To ensure precise and stable imaging, motion control systems synchronize the movement of the material with the inspection process.
- Roller Systems:
Stabilize metal sheets or coils to reduce vibrations and ensure consistent imaging. - Encoders:
Measure the speed and position of the material, enabling synchronization with cameras and lighting systems.
5. Data Analytics and Reporting
Inspection systems generate detailed reports and analytics to provide actionable insights into production quality.
- Defect Mapping:
Pinpoints the location and type of anomalies on the surface, enabling targeted rework or adjustments. - Trend Analysis:
Tracks defect patterns over time, helping identify root causes and optimize processes. - Real-Time Feedback:
Sends alerts to operators, enabling immediate corrective actions to prevent recurring defects.
6. Protective Measures
Given the harsh environments of metal production, inspection systems must be designed for durability.
- Casing and Enclosures:
Protect cameras and lighting systems from dust, heat, and debris. - Cooling Mechanisms:
Prevent overheating of cameras and controllers during continuous operation.
How to Implement an Automated Inspection System
Step 1: Define Inspection Requirements
- Material Properties:
Consider the type of metal, coating, and expected defect types. - Inspection Speed:
Align the system with the speed of your production line. - Defect Thresholds:
Determine acceptable defect sizes and severity levels for your application.
Step 2: Choose the Right Technology
- Cameras and Lenses:
Select cameras with the resolution and field of view required for your surface area. - Lighting:
Design a lighting setup tailored to your surface properties and defect types. - AI Software:
Train AI models using sample defect images to ensure accurate detection and classification.
Step 3: System Integration
- Integrate cameras, lighting, and motion control systems into the production line.
- Ensure the system operates seamlessly with existing equipment and processes.
Step 4: Testing and Calibration
- Test the system under real production conditions to identify and address any issues.
- Calibrate the cameras and lighting for optimal defect visibility.
Step 5: Continuous Improvement
- Monitor system performance and update AI models as new defect types or surface variations arise.
- Use analytics to optimize production processes and minimize defect rates.
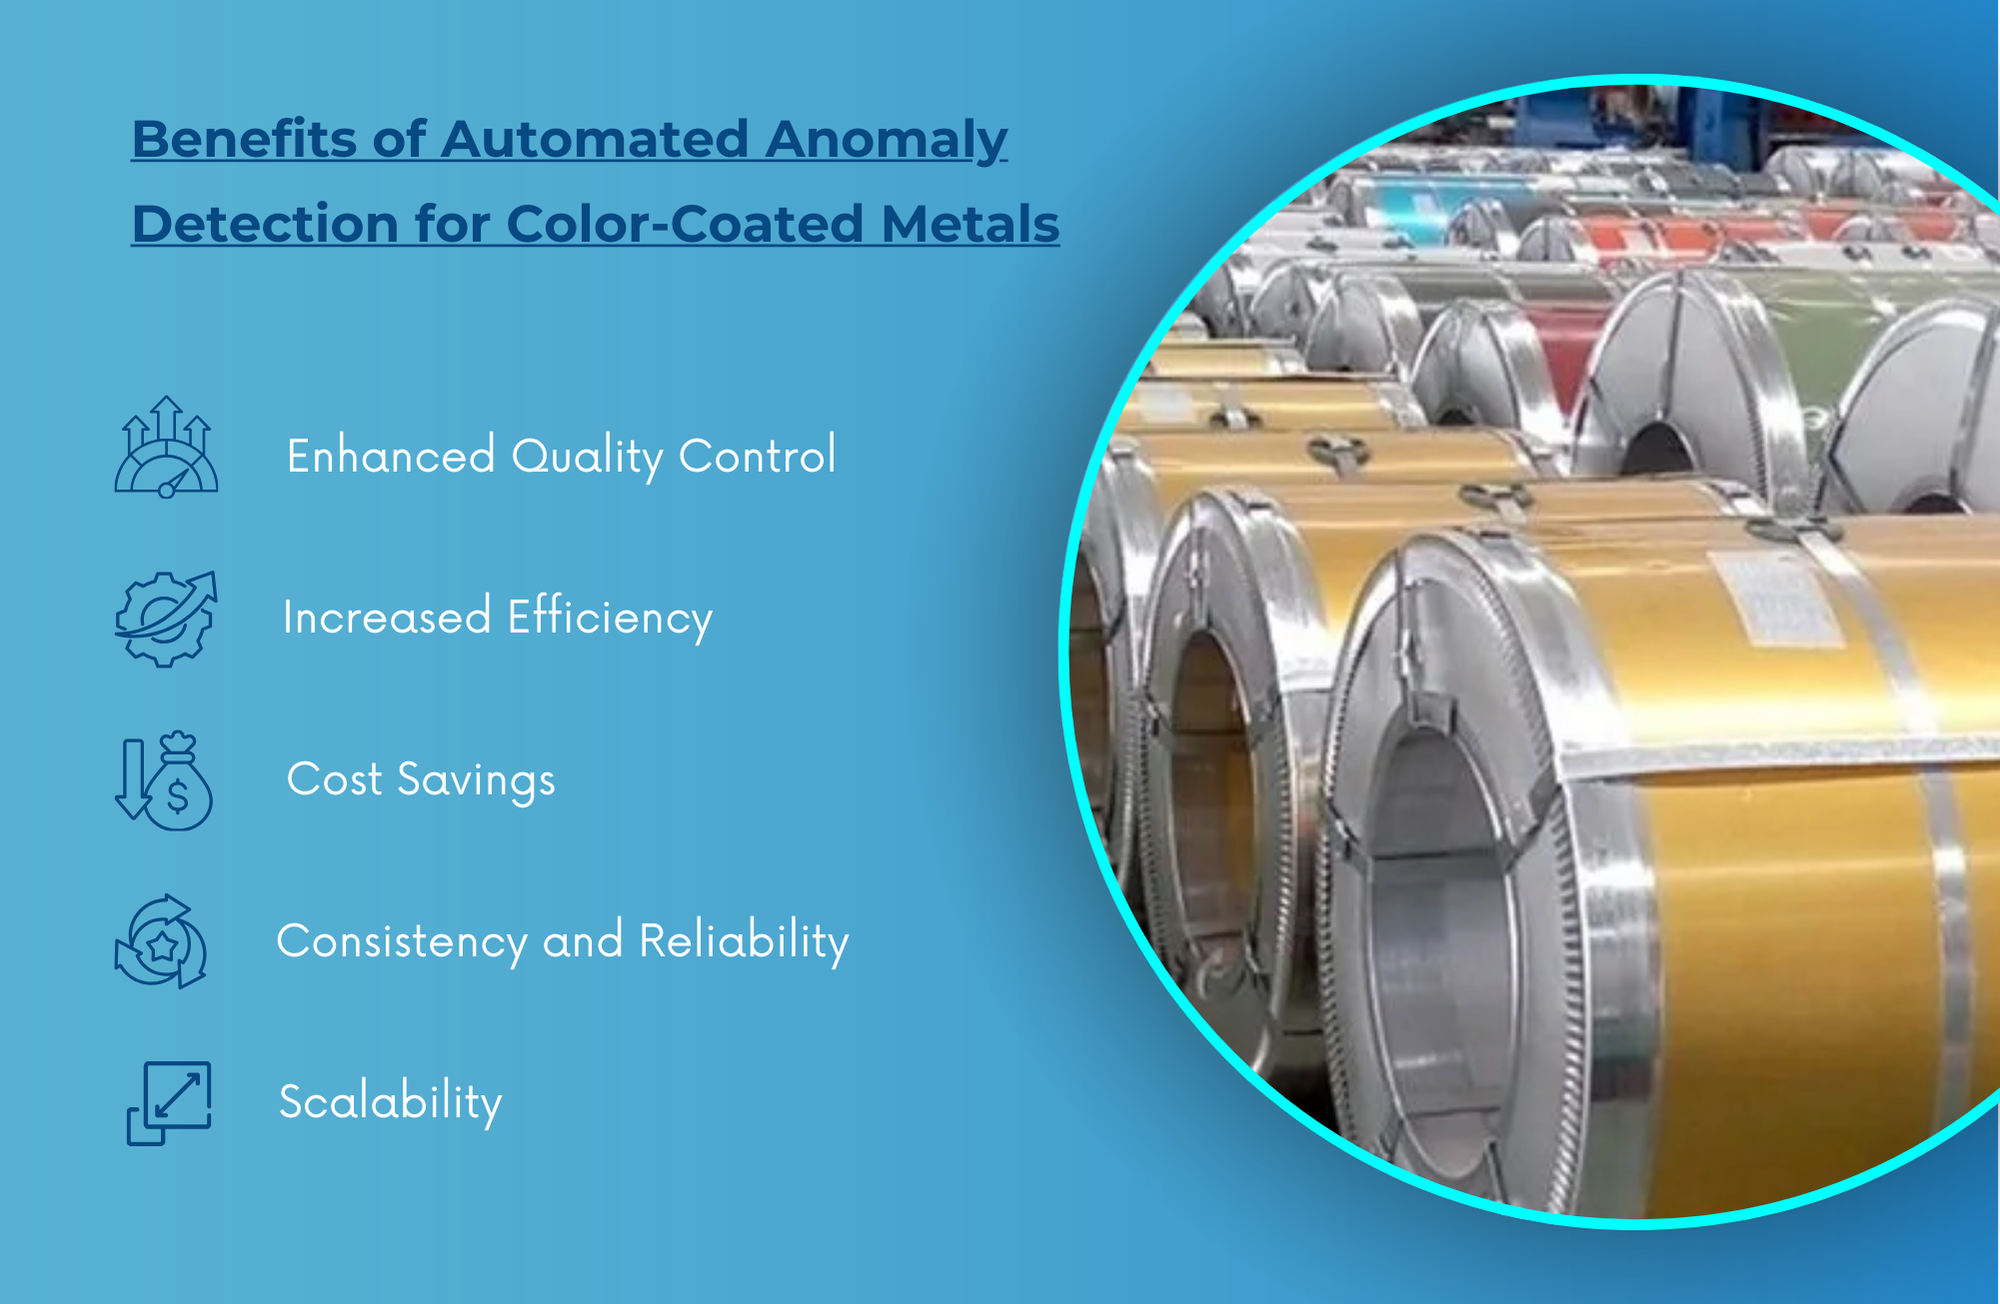
Benefits of Automated Anomaly Detection for Color-Coated Metals
1. Enhanced Quality Control
Automated systems detect even the smallest anomalies, ensuring that only defect-free products reach customers.
2. Increased Efficiency
Real-time inspection reduces downtime and minimizes the need for manual checks, speeding up the production process.
3. Cost Savings
Early defect detection reduces waste, rework, and warranty claims, lowering overall production costs.
4. Consistency and Reliability
Machine vision systems deliver consistent results, eliminating variability caused by human inspectors.
5. Scalability
Automated systems can handle diverse materials, surface types, and production speeds, making them suitable for large-scale operations.

Intelgic’s Expertise in Automated Metal Surface Inspection
At Intelgic, we specialize in designing and implementing custom Automated Optical Inspection (AOI) systems for color-coated metal surfaces. Our solutions combine high-resolution imaging, AI-powered defect detection, and robust hardware to meet the specific needs of your production environment.
Why Choose Intelgic?
- Tailored Solutions:
Systems designed to address your unique production challenges, including reflective surfaces and high-speed lines. - Cutting-Edge Technology:
Advanced cameras, lighting, and AI algorithms ensure precise defect detection and classification. - Comprehensive Support:
From consultation to installation and ongoing maintenance, we provide end-to-end support to ensure your system operates seamlessly.
Automating anomaly detection on color-coated aluminum and metal surfaces is critical for maintaining high-quality standards in modern manufacturing. By leveraging Machine Vision AI, advanced imaging, and robust inspection systems, manufacturers can overcome challenges like reflective surfaces, high-speed production, and diverse defect types.
Intelgic offers state-of-the-art AOI systems tailored to your specific needs, enabling real-time defect detection, consistent quality control, and significant cost savings. Contact Intelgic today to learn how we can revolutionize your surface inspection processes.

