Contact vs. Non-Contact Measurement in Manufacturing: A Comprehensive Guide
Published on: Sep 30, 2024

Written by: Admin
Contact vs. Non-Contact Measurement in Manufacturing: A Comprehensive Guide
Measurement is a critical aspect of quality control in manufacturing. The choice between contact and non-contact measurement methods can significantly impact production efficiency, accuracy, and overall product quality. In this article, we’ll explore the definitions, advantages, disadvantages, and applications of both contact and non-contact measurement techniques, helping you understand when and why to use each method.
What is Contact Measurement
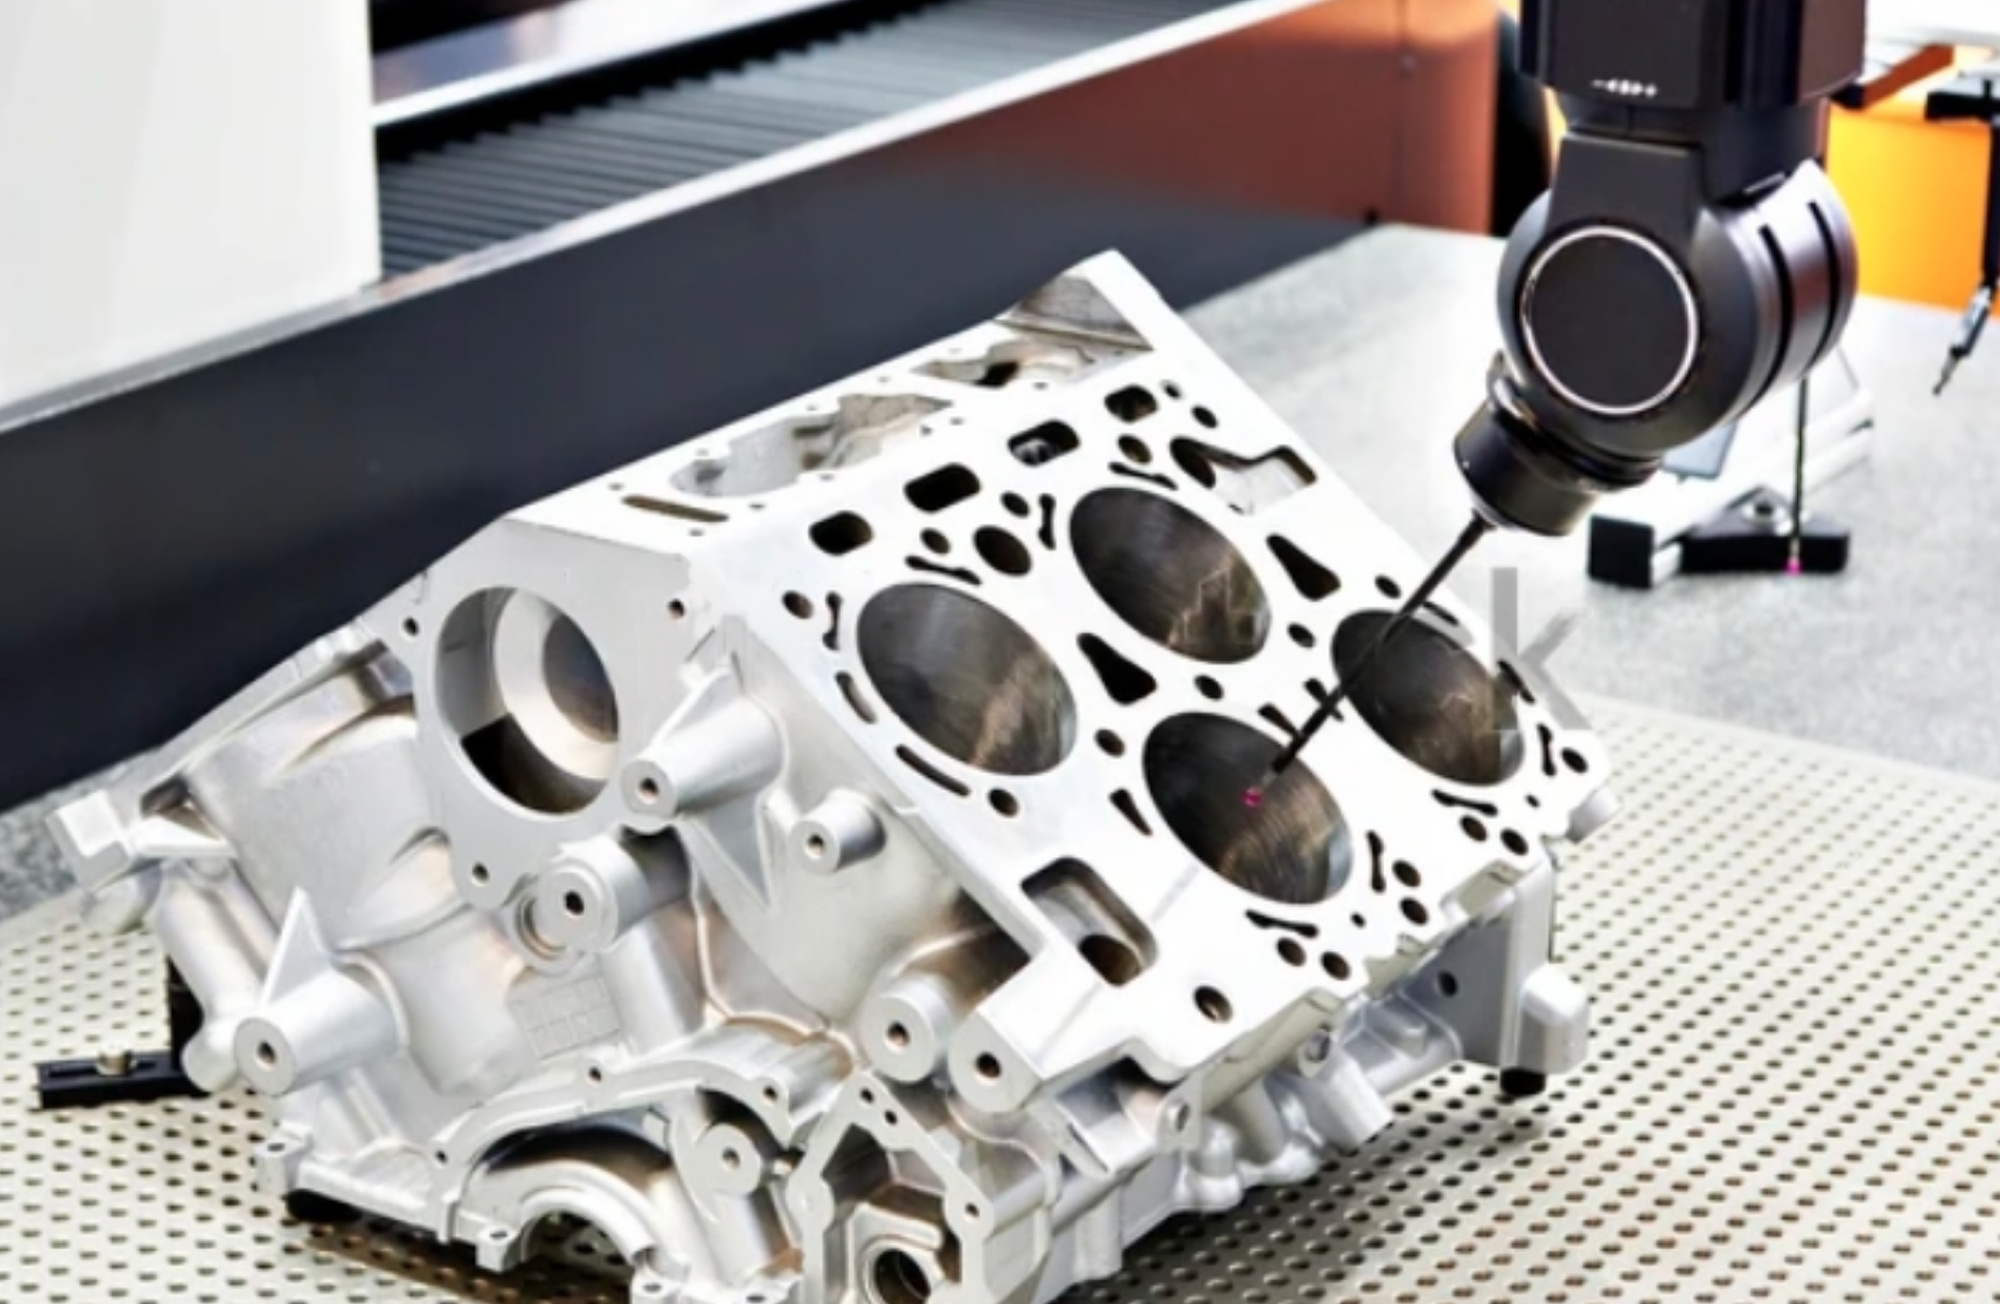
Contact measurement involves direct physical interaction between the measuring device and the part being inspected. Common tools used in contact measurement include calipers, micrometers, dial gauges, and coordinate measuring machines (CMMs). These devices physically touch the part to measure dimensions like length, diameter, thickness, or surface roughness.
Pros of Contact Measurement:
- High Accuracy: Contact measurement devices, especially CMMs, offer extremely high accuracy, often within microns, making them suitable for applications where precision is paramount.
- Simple Setup: Traditional contact measuring tools, such as calipers or micrometers, are straightforward and don’t require advanced technology or software integration.
- Low Cost for Basic Tools: Simple contact measurement tools are often more affordable compared to advanced non-contact systems.
- Ideal for Small Batch Production: In scenarios with limited production quantities or custom parts, contact measurement can provide the necessary precision without the need for more complex setups.
Cons of Contact Measurement:
- Slow Speed: Contact measurement tends to be slower because the measuring tool must physically interact with the part. This can be a bottleneck in high-speed production environments.
- Risk of Part Damage: The physical interaction can damage delicate or soft parts, such as thin metal sheets, glass, or electronics, leading to deformation or surface scratches.
- Limited to Certain Part Types: Complex geometries, soft materials, or tiny components can be difficult to measure accurately using contact methods due to limitations in tool access and precision.
- Wear and Tear: Contact tools experience wear over time, which can lead to inaccurate measurements unless regularly calibrated and maintained.
What is Non-Contact Measurement
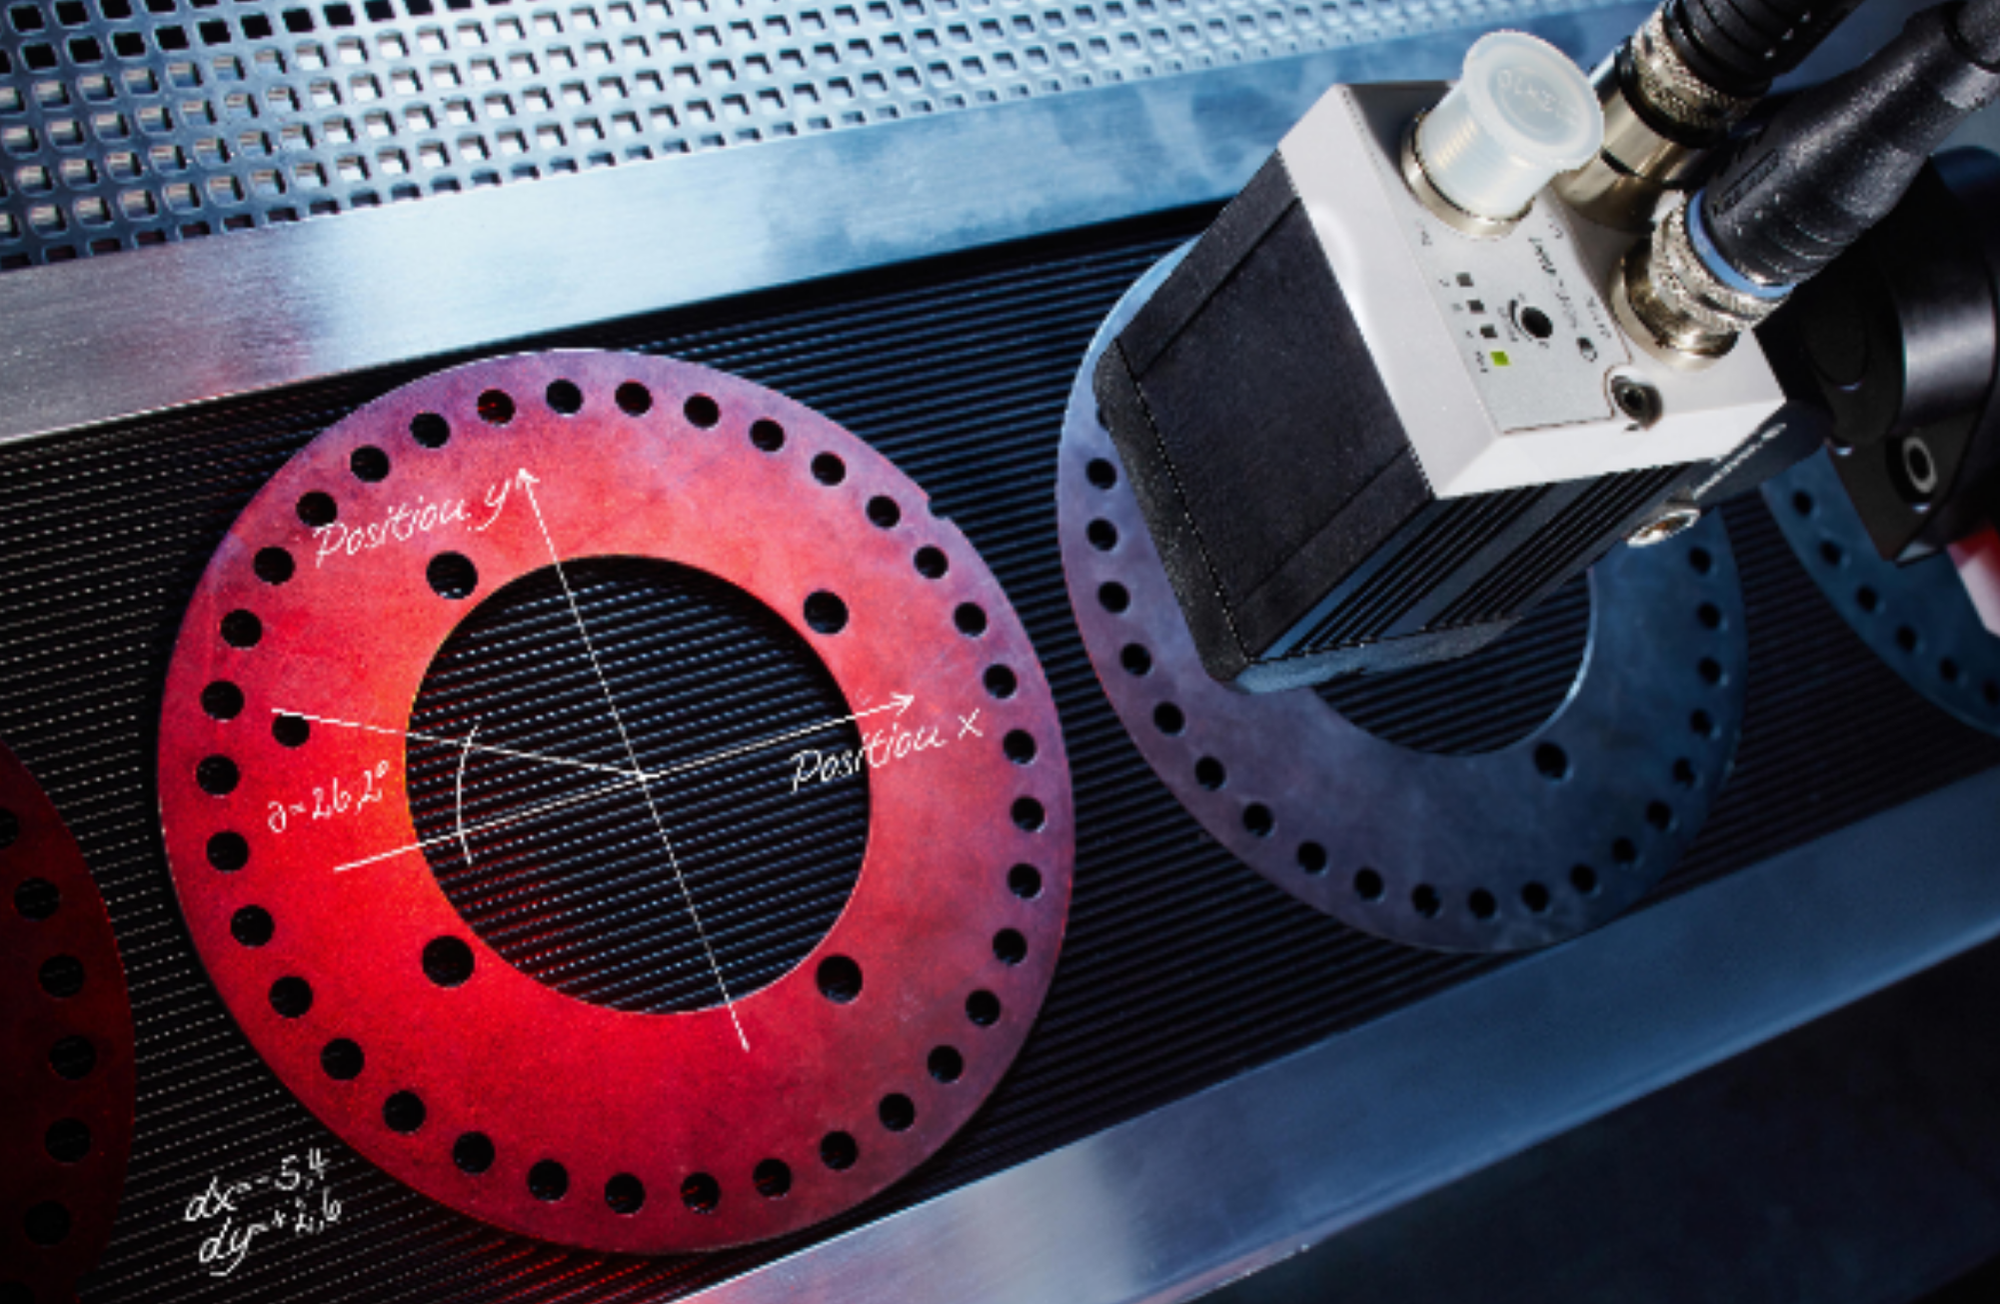
Non-contact measurement involves using sensors, cameras, lasers, or other optical technologies to measure parts without any physical interaction. This method is particularly useful in environments where delicate parts are produced, or where speed and precision are essential. Machine vision systems and laser scanning are typical examples of non-contact measurement tools.
Pros of Non-Contact Measurement:
- Fast and Efficient: Non-contact measurement systems can capture data rapidly, making them ideal for high-speed production lines where throughput is a priority.
- No Risk of Damage: Because the system does not physically touch the part, there’s no risk of damaging delicate, soft, or sensitive components. This makes non-contact ideal for inspecting fragile items like electronics, medical devices, or glass products.
- Accurate for Complex Geometries: Non-contact systems can easily measure complex shapes, curved surfaces, and intricate details that would be challenging for traditional contact tools.
- Adaptable for 3D Measurement: With advanced 3D scanning capabilities, non-contact measurement systems can provide detailed dimensional data, capturing depth, volume, and surface profiles in addition to linear dimensions.
- Automated Integration: Non-contact measurement systems can be fully automated and integrated into production lines, providing real-time feedback and reducing human error.
Cons of Non-Contact Measurement:
- Higher Initial Cost: Non-contact measurement systems tend to be more expensive than traditional contact tools, especially if advanced sensors or machine vision systems are involved.
- Sensitivity to Environmental Factors: Non-contact systems can be affected by lighting conditions, reflections, surface textures, and other environmental factors, which may reduce accuracy or require additional calibration.
- Learning Curve and Maintenance: Advanced non-contact systems require specialized knowledge for installation, operation, and maintenance. Users may need training to properly configure and interpret the system’s output.
- Not Always Suitable for Surface Roughness Measurement: Non-contact systems may struggle to accurately measure certain surface characteristics, such as roughness or micro-textures, which are often better suited for contact methods.
When to Use Contact Measurement
Contact measurement is best suited for applications that prioritize high accuracy over speed, particularly in scenarios involving rigid, durable parts that can withstand physical interaction without damage. Consider using contact measurement in the following cases:
- Low-Volume Production: In industries where precision is crucial, but production volumes are relatively low, contact measurement offers a cost-effective solution.
- Small Parts with Simple Geometries: For smaller, simple parts where access is easy and physical contact won’t cause damage, tools like micrometers and calipers provide a reliable means of measurement.
- Dimensional Accuracy for High-Tolerance Parts: Contact methods are ideal when measuring high-tolerance parts, such as engine components or precision gears, where even minor deviations in measurement can affect performance.
- Surface Roughness Measurement: For applications where the surface roughness or texture is important, contact measurement devices like profilometers are often the best option.
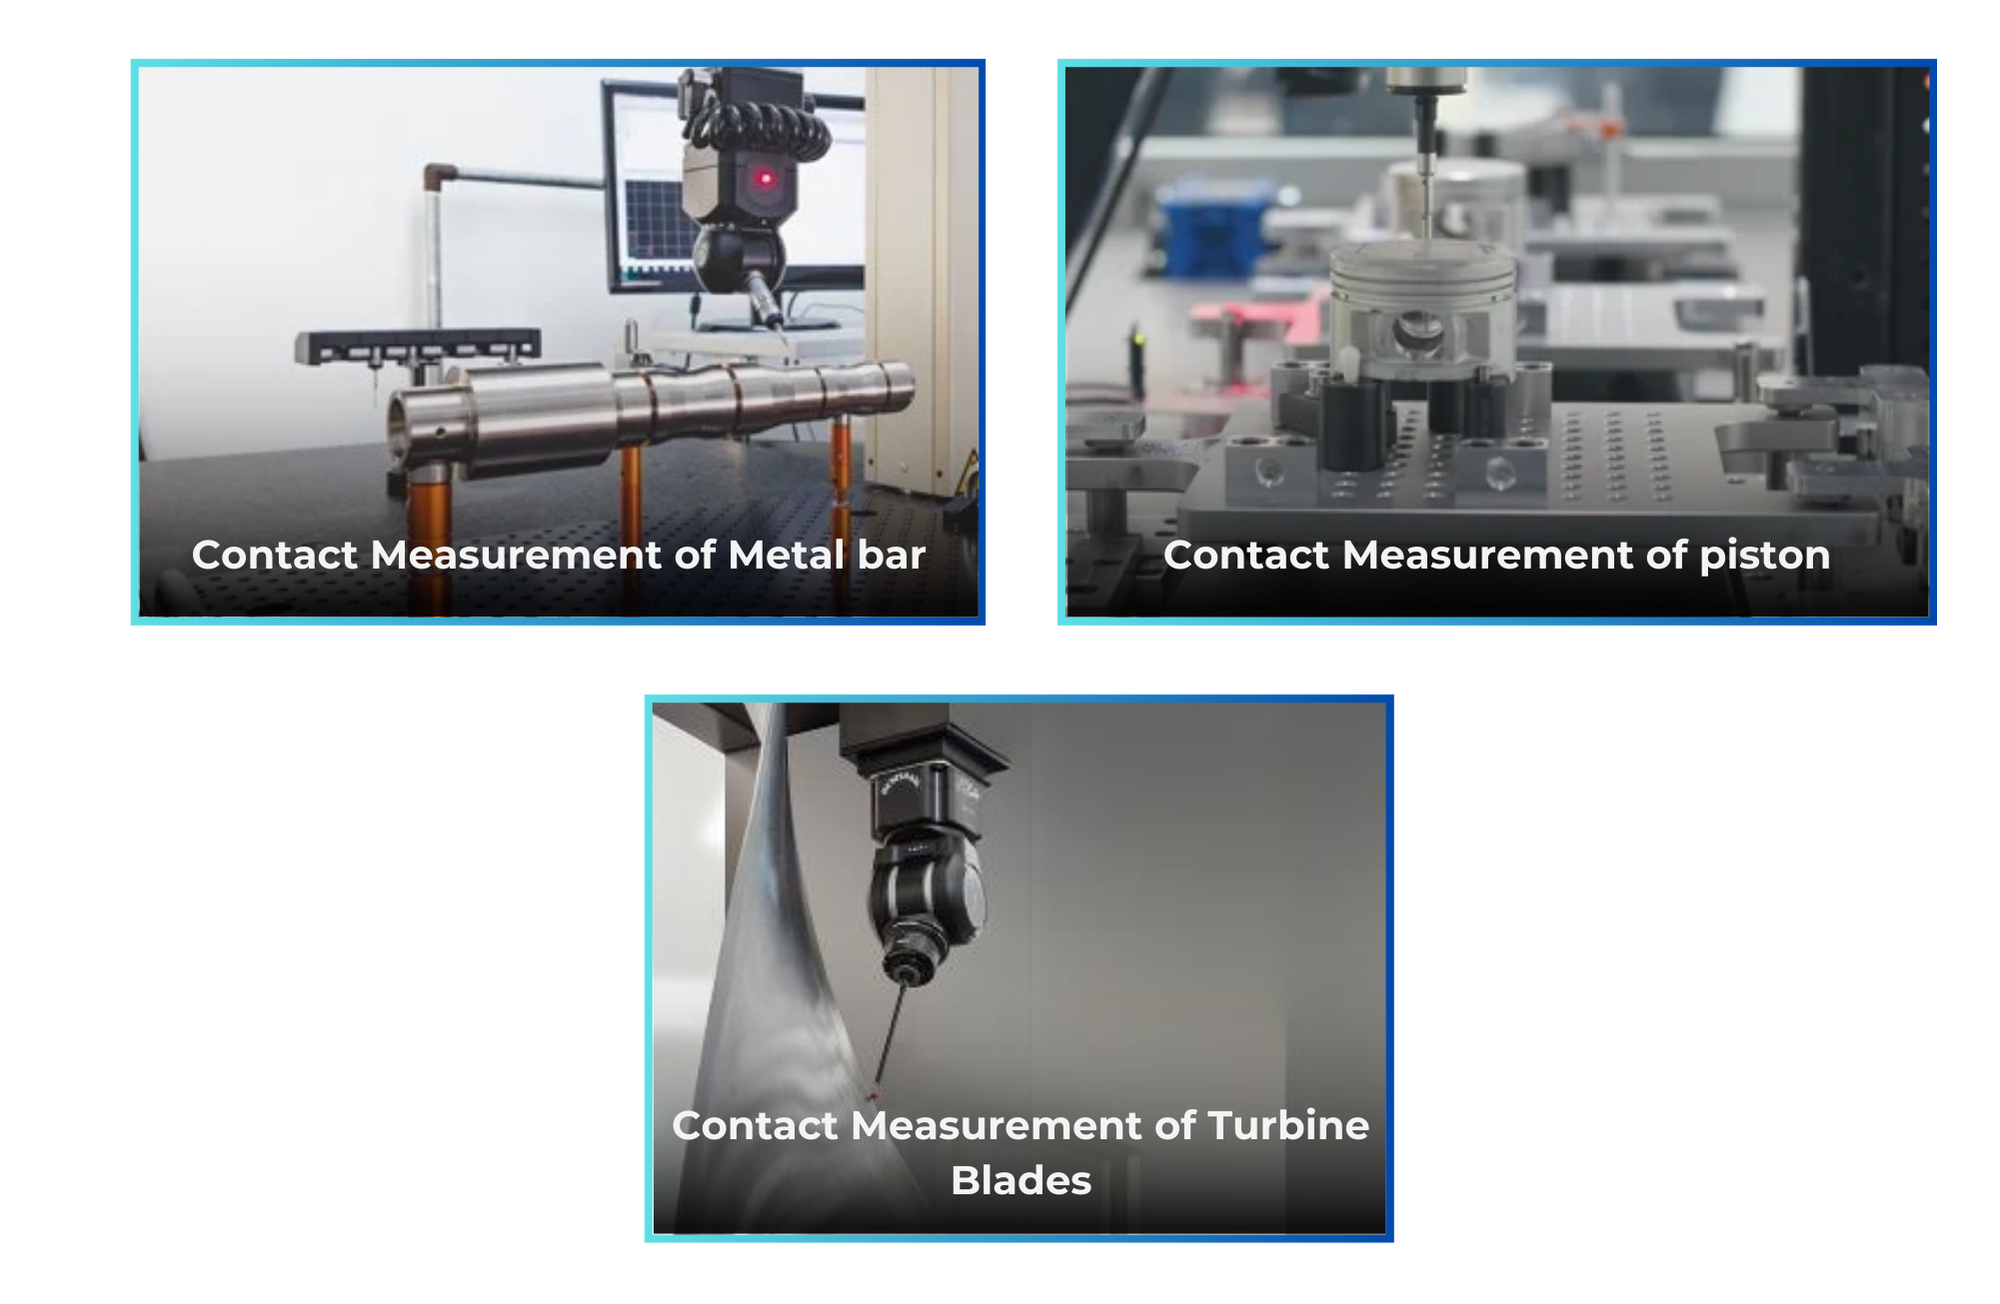
Examples of Contact Measurement Use Cases:
- Automotive Components: Measuring the diameters of engine pistons, crankshafts, and gears where precise, tactile feedback is required.
- Aerospace: Checking dimensional tolerances of aircraft components like turbine blades or landing gear that require strict precision.
- Metal Fabrication: Measuring thickness, length, and width of metal sheets or bars in fabrication shops where surface roughness and texture are important.
When to Use Non-Contact Measurement
Non-contact measurement is the ideal choice in industries where speed, precision for complex geometries, and non-destructive testing are essential. It’s particularly effective in high-speed production lines and for delicate or sensitive components. You should consider non-contact measurement in these cases:
- High-Volume Production: For production lines running at high speeds, non-contact measurement systems can inspect hundreds or thousands of parts per minute, providing real-time feedback and ensuring consistent quality control.
- Delicate or Soft Parts: Non-contact methods are best for inspecting parts that could be damaged by physical contact, such as medical devices, glass, plastics, or electronics.
- Complex Geometries: Parts with intricate designs, curves, or hard-to-reach areas are often more easily measured using non-contact systems like 3D laser scanners or structured light sensors.
- In-Line Quality Control: Non-contact systems can be integrated directly into the manufacturing line, providing continuous, automatic measurements without halting production.
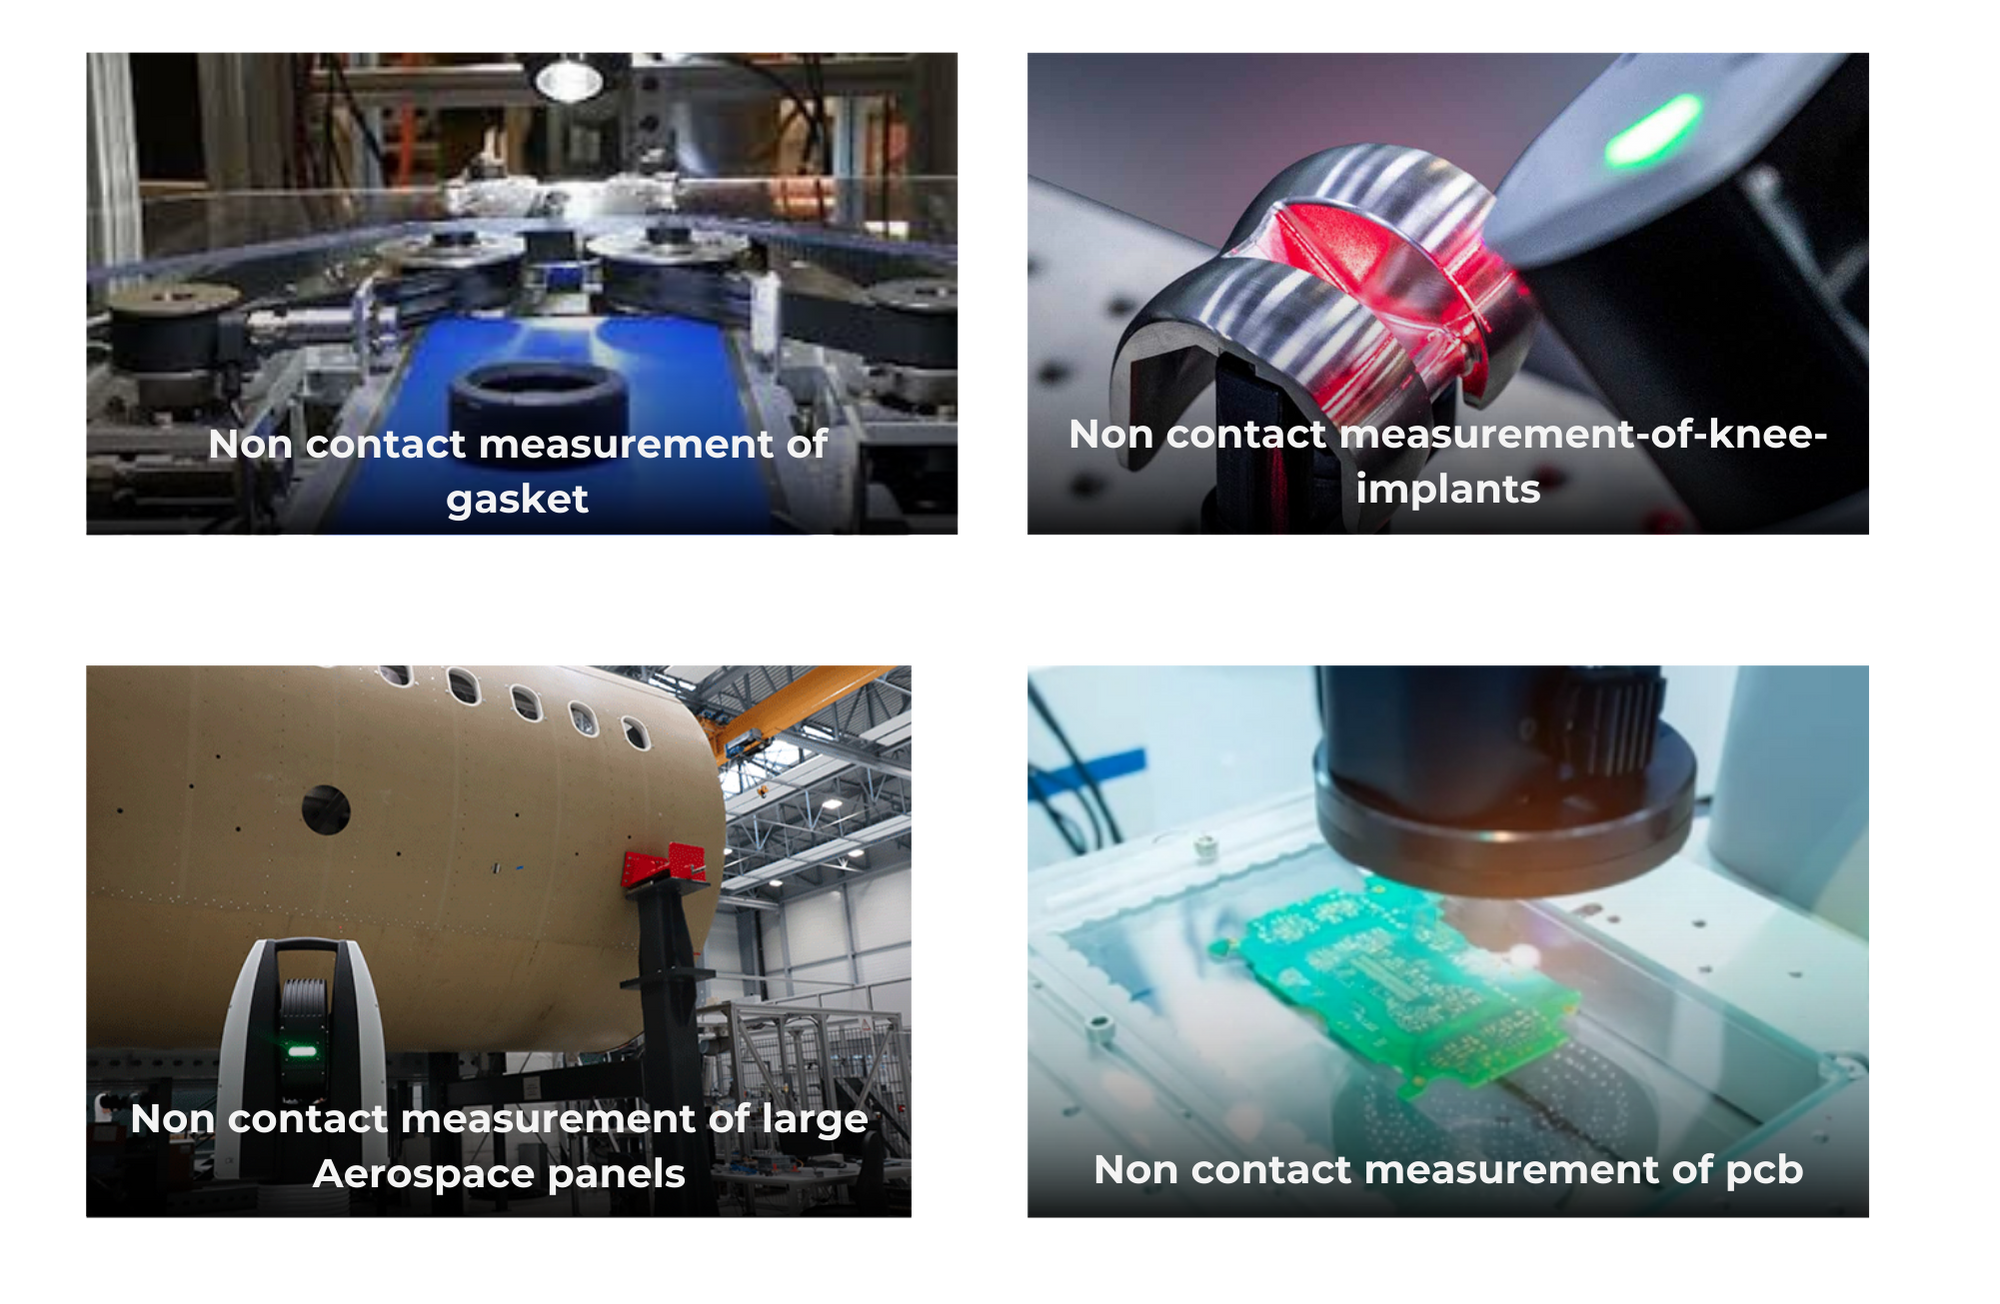
Examples of Non-Contact Measurement Use Cases:
- Electronics Manufacturing: Measuring the dimensions of printed circuit boards (PCBs) and ensuring the correct placement of components without damaging the sensitive parts.
- Medical Devices: Inspecting delicate surgical instruments, implants, or stents where physical contact could affect sterility or cause damage.
- Plastics and Rubber: Measuring the diameter and thickness of rubber seals, gaskets, and plastic containers, where flexibility or softness makes contact measurement challenging.
- Aerospace: Non-contact scanning of large, complex surfaces like fuselage panels and turbine blades, where high precision and fast feedback are critical.
Why Choose One Method Over the Other?
The decision to use contact or non-contact measurement depends on several factors:
- Part Material: For hard and rigid materials that can tolerate physical contact, traditional contact measurement tools may be sufficient. For delicate, soft, or fragile materials, non-contact is the better option.
- Production Speed: In high-speed production environments, non-contact measurement is faster and less disruptive to the workflow than contact methods.
- Required Precision: For highly precise, high-tolerance applications, contact methods like CMMs can offer superior accuracy, but advanced non-contact systems are now reaching comparable levels of precision.
- Cost Considerations: Contact measurement tools are typically more cost-effective upfront. However, non-contact systems, while more expensive initially, can offer cost savings through increased throughput, automation, and reduced waste.
Conclusion: Which Measurement Method Is Right for You?
Both contact and non-contact measurement methods have their place in modern manufacturing. Contact measurement remains indispensable for applications requiring tactile precision, particularly in small-batch production or when measuring surface roughness. On the other hand, non-contact measurement systems shine in high-speed, high-volume production environments where parts are delicate, complex, or where automation is critical.
By understanding the strengths and limitations of each method, manufacturers can choose the best measurement technology for their specific application, ensuring improved efficiency, accuracy, and product quality.
